Unavailable content after CDN resource creation
After a CDN resource is created, content can fail to load from the CDN hostname even when the origin still returns HTTP 200. Work through the origin check first, then the resource settings below. If a check restores delivery, stop. Otherwise continue to the next check.
Origin HTTP response
Request a file that should be delivered through CDN from the origin, using GET and discarding the body. curl -I sends HEAD, which an origin application can handle differently from GET. An HTTP 200 response means the origin can serve the object for that request. An HTTP 4xx or 5xx on that same request usually means the origin cannot serve the object. CDN nodes can still fail later if the Host header, SNI hostname, origin ACL, or authentication differs from this request.
Reproduce the CDN pull: use the origin protocol, send the configured Custom Host header, use the configured SNI hostname in --resolve and in the URL for HTTPS, and pin --resolve to the origin IP. Add the same authentication headers or credentials the CDN sends when the origin requires them.
curl -sS -D - -o /dev/null \
  --resolve sni.example.com:443:203.0.113.10 \
  -H "Host: host.example.com" \
  https://sni.example.com/image.png
Replace sni.example.com with the SNI hostname: the Change Host header value when Dynamic SNI hostname is selected, or Specify SNI hostname when Custom SNI hostname is selected. Replace host.example.com with Custom Host header. Replace 203.0.113.10 with the origin IP and image.png with the object path. For HTTP origin, use http://, port 80 in --resolve, and skip SNI.
CDN resource settings
In the CDB Technical Web Portal, navigate to CDN > CDN resources and open the resource. Each check below maps to one setting that commonly blocks delivery after creation.
Custom domain and DNS
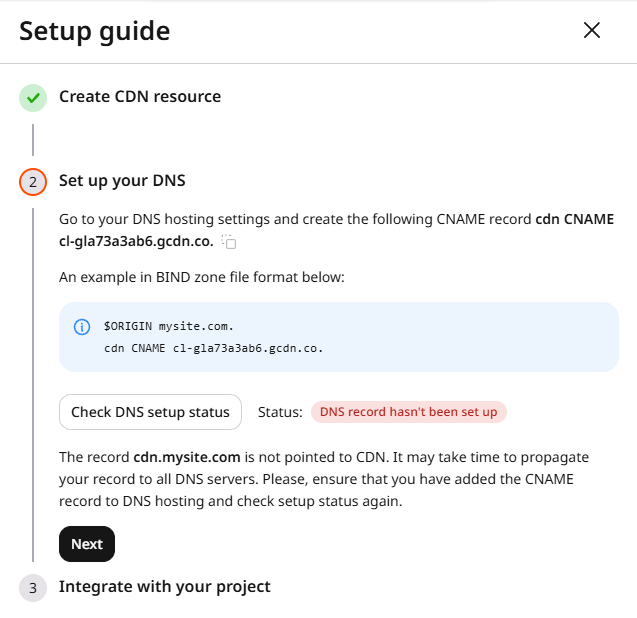
A missing or incorrect CNAME prevents the custom domain from resolving to CDB. Traffic does not automatically go to the origin; the custom hostname fails to resolve, or it resolves to the wrong target. The Setup guide reports whether DNS is in place.
- 1
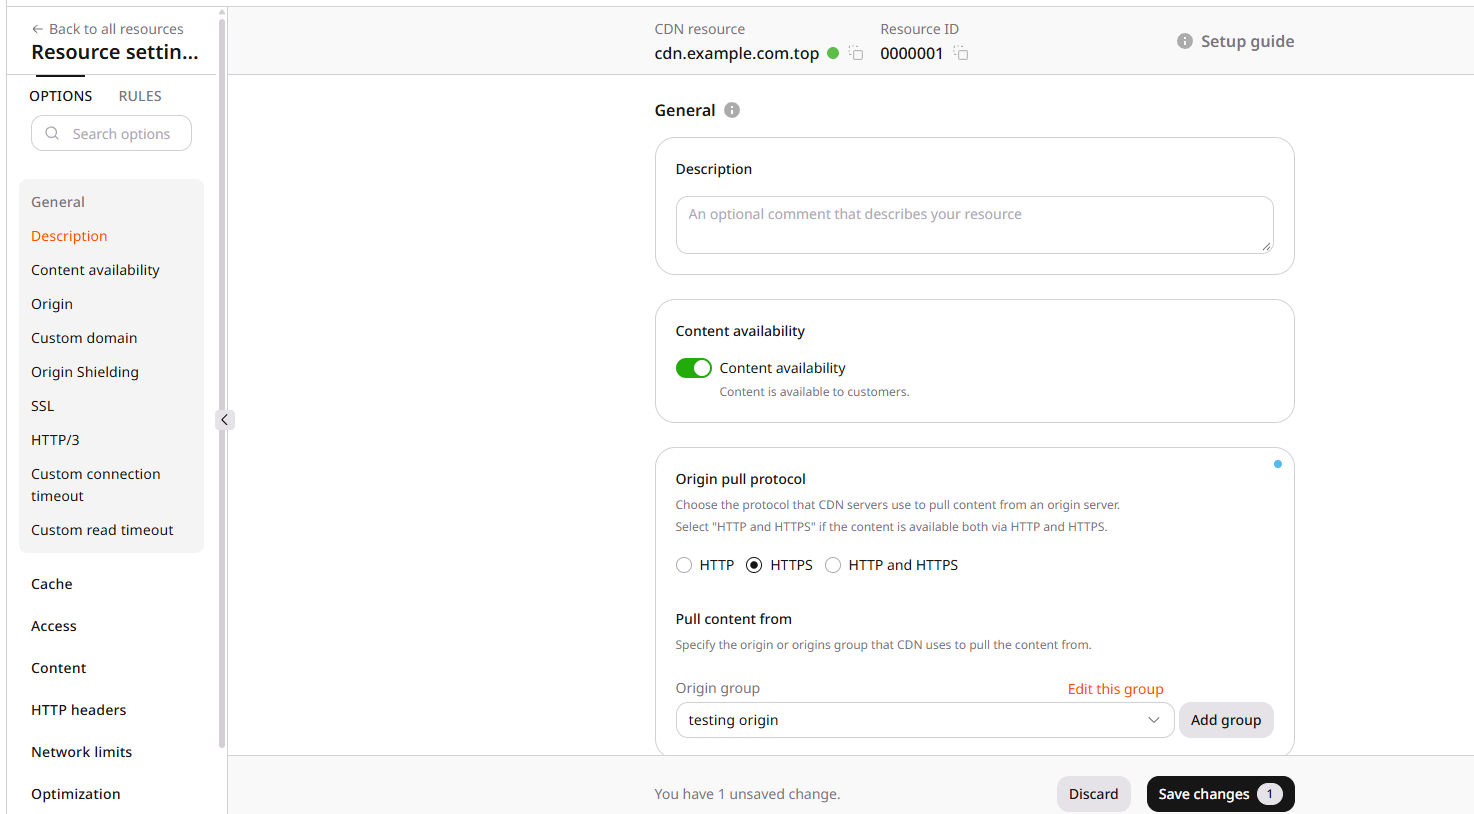
Open Setup guide
In resource settings, click Setup guide. If Setup guide is not available, continue with Host header.
- 2
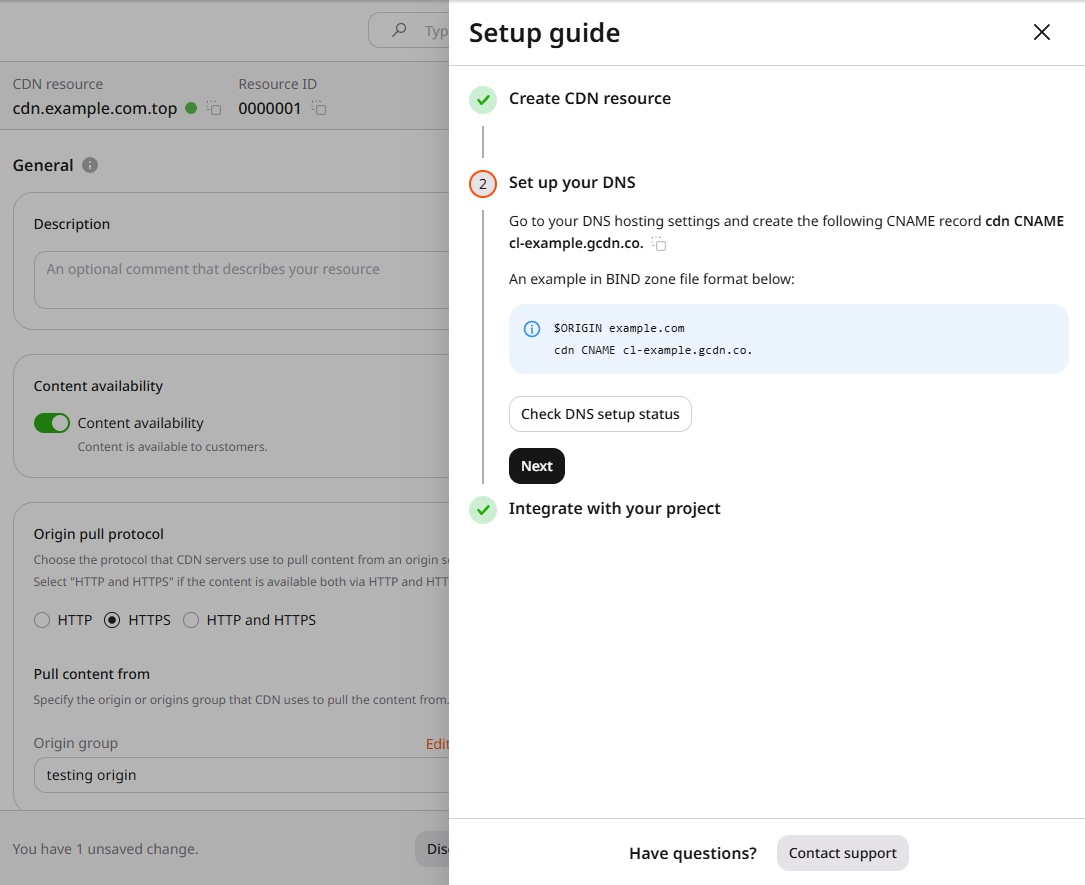
Check DNS setup status
Click Check DNS setup status.
If DNS is missing, this notification appears:
- 3
Confirm the CNAME
When Setup guide reports that DNS is missing, open DNS lookup, enter the custom domain from the notification (
cdn.example.comin the screenshot), select the resolvers, and click Search.On the CNAME tab, compare the result with the Setup guide target. A matching CNAME means the record exists in those resolvers. If Setup guide still reports that DNS is missing, wait and repeat Check DNS setup status. Resolver caches often update within about 15 minutes, though a recent nameserver change can take longer.
If the lookup target does not match the Setup guide value, or the result is No records were found, add or correct the CNAME in custom domain settings.
- 4
Wait for DNS propagation
Save DNS changes and wait for propagation. Updates often finish within 15 minutes. A recent nameserver change can take up to 24 hours.
Request the object from the custom domain. If the CNAME was the cause, delivery resumes. If it does not, continue with Host header. If Setup guide does not report a DNS problem and the custom domain still fails, continue with Host header as well.
Host header
The Host header tells CDN nodes which origin hostname to request. When it does not match the origin, the origin cannot serve the object.
- 1
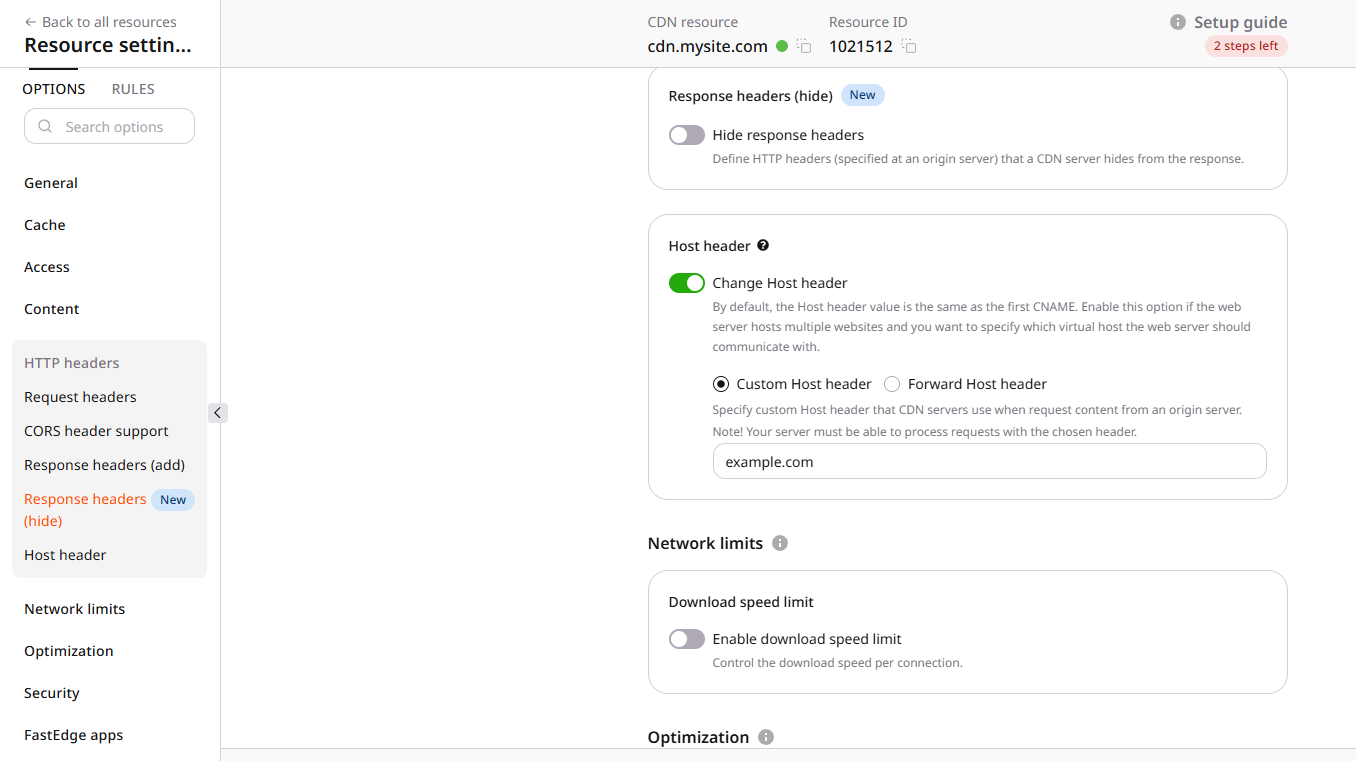
Open Host header
In resource settings, open HTTP headers and find Host header.
- 2
Copy the Host header value
Copy the value configured in Custom Host header.
- 3
Request the origin with Host and SNI
In a terminal, send GET and discard the body. Match the origin protocol, Custom Host header, SNI hostname, and origin IP. Add authentication headers or credentials when the origin requires them.
curl -sS -D - -o /dev/null \
  --resolve sni.example.com:443:203.0.113.10 \
  -H "Host: host.example.com" \
  https://sni.example.com/image.png
Replace
sni.example.comwith the configured SNI hostname,host.example.comwith Custom Host header,203.0.113.10with the origin IP, andimage.pngwith the object path. For HTTP origin, usehttp://and port80in--resolve. - 4
Update Custom Host header if needed
A 2xx response means the Host header is not the cause. Continue with Origin pull protocol.
A 4xx or 5xx response means the origin rejected that Host header. For a single origin, set the origin hostname in Custom Host header. For several origins, each origin must accept that Host header. The header does not change automatically when the origin changes.
Click Save changes, purge the affected URL, then request the object from the CDN hostname again. If delivery works, stop. If it does not, continue with Origin pull protocol.
Origin pull protocol
The origin pull protocol (HTTP, HTTPS, or both) is how CDN nodes fetch from the origin. The wrong protocol causes fetch errors or redirects.
- 1
Confirm the origin protocol
Open the origin in the browser and read the URL scheme.
https://example.comis HTTPS.http://example.comis HTTP. Confirm both schemes if the origin is expected to serve both.

- 2
Compare Origin pull protocol
In resource settings, open General and find Origin pull protocol.
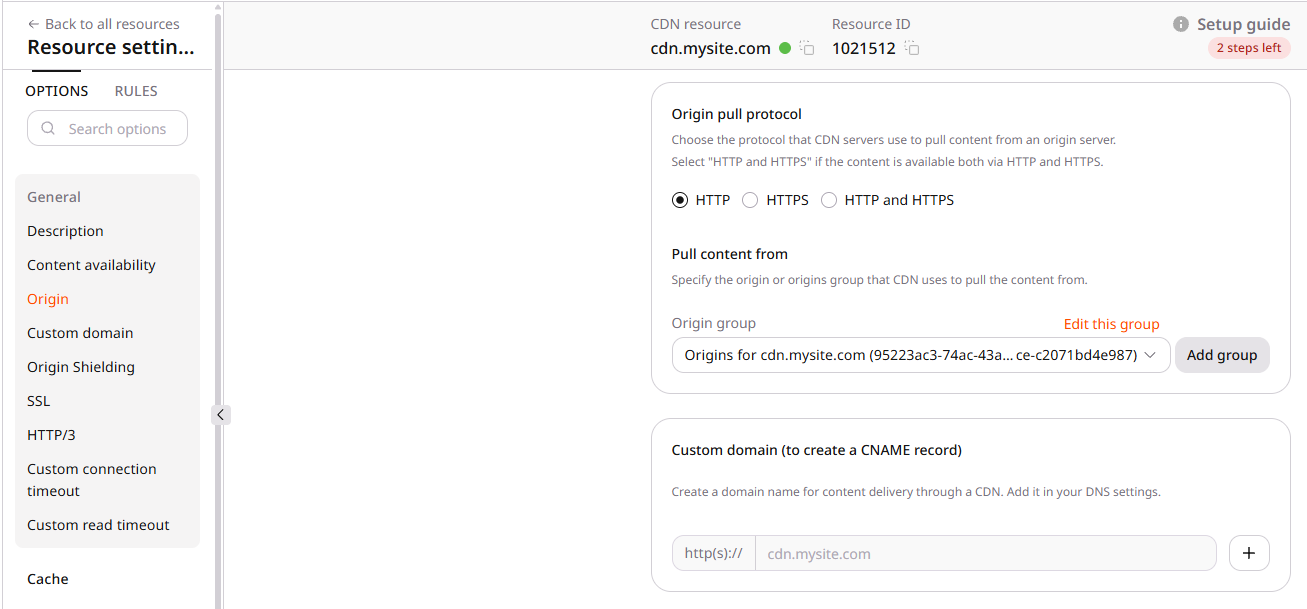
- 3
Save and retest
If the origin protocol and Origin pull protocol match, continue with SSL certificate. If they differ, set Origin pull protocol to the origin protocol, click Save changes, purge the affected URL, then request the object from the CDN hostname again.
If delivery works, stop. If it does not, continue with SSL certificate.
SSL certificate
HTTPS delivery needs a certificate on the custom domain. A missing or invalid certificate blocks HTTPS or shows a browser trust warning.
- 1
Open SSL settings
In General, open SSL.
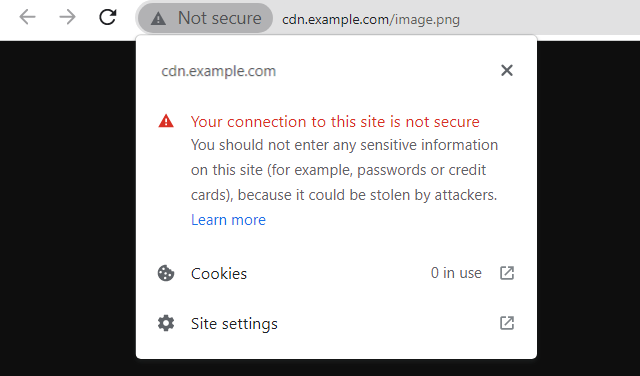
- 2
Confirm Enable HTTPS
Confirm Enable HTTPS is on. Certificate types are Free Let's Encrypt certificate and Custom SSL certificate. After issuing or adding a certificate, click Save changes and allow 15–30 minutes for CDN edges to present it.
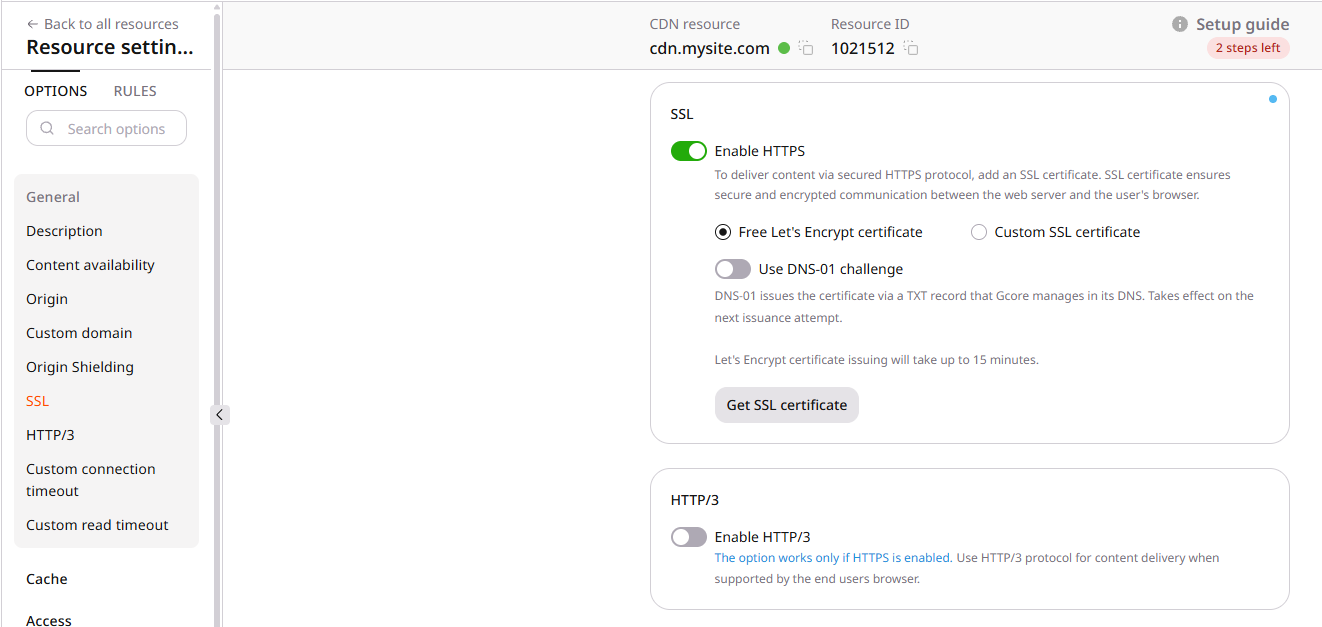
Let's Encrypt certificate
Let's Encrypt cannot issue a certificate until the custom domain CNAME exists. Complete the custom domain and DNS check first.
In resource settings, open Rules. If there are no rules, continue with Custom SSL certificate.

A rule is a problem only when its behavior interferes with /.well-known/acme-challenge/. Broad patterns such as /* are not inherently blocking. Narrow the rule or exclude that path so automatic renewal continues working. Full issuance steps are in Let's Encrypt.
Custom SSL certificate
A third-party certificate must cover the custom domain and present a complete chain. Browsers will not trust the certificate unless its chain leads to a public trusted CA. In custom SSL settings, Signed by a trusted CA. can be cleared when the certificate is not from a trusted CA. Clearing that checkbox allows the upload; it does not make browsers trust a private CA or an incomplete chain.
- 1
Test TLS on the custom domain
In a terminal, send GET and discard the body:
curl -sS -D - -o /dev/null https://cdn.example.com/image.pngReplace
cdn.example.comwith the custom domain andimage.pngwith the object path.A 2xx response means the TLS handshake succeeded. Continue with the browser check.
A rejected server certificate typically looks like this:
curl: (60) SSL certificate problem: unable to get local issuer certificatecurl error 60 means the peer certificate was not verified. That can result from a private CA or an incomplete chain. curl error 77 is a different failure: the local CA certificate file or store could not be read.
- 2
Inspect the certificate in the browser
In the browser, open an object on the CDN hostname. Open the certificate viewer from the address bar or developer tools. Confirm the certificate covers the custom domain and is not expired. A wildcard is optional. A certificate for
*.example.comcoverscdn.example.com. It does not cover the apex domainexample.comor a nested hostnameassets.cdn.example.com.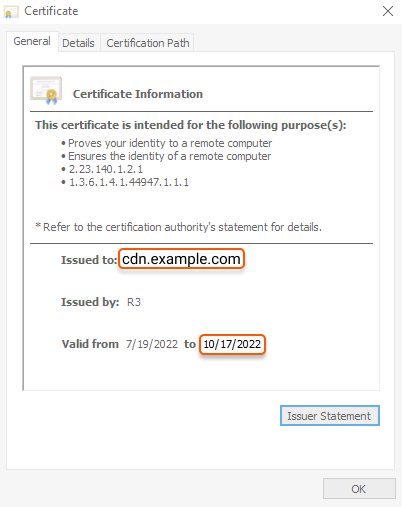
Renew or reissue the certificate if the name or dates are wrong. Click Save changes after attaching a replacement, then purge the affected URL.
- 3
Inspect the chain on SSL Labs
On SSL Labs, enter the custom domain in Hostname and click Submit. Use the report to inspect the certificate chain and trust path.
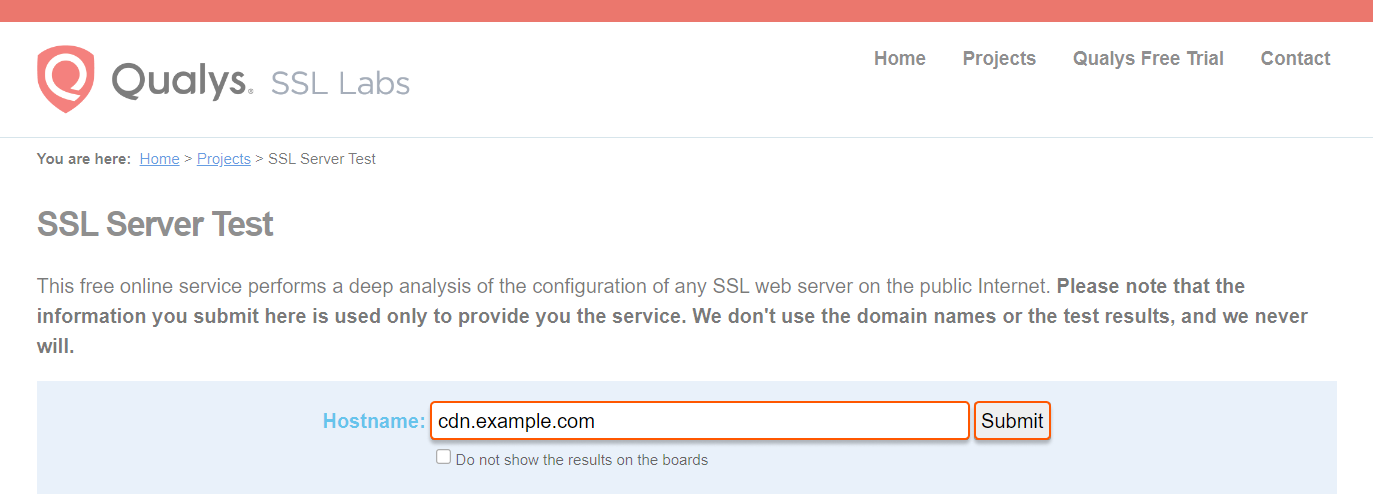
If the report lists chain issues, the uploaded chain is incomplete. Certificate and private-key values cannot be changed after upload. Upload a new certificate that contains the complete chain (leaf, intermediate CA, root CA), attach it to the CDN resource, and click Save changes. Verify HTTPS on the custom domain, then delete the old certificate. Full steps are in custom SSL.
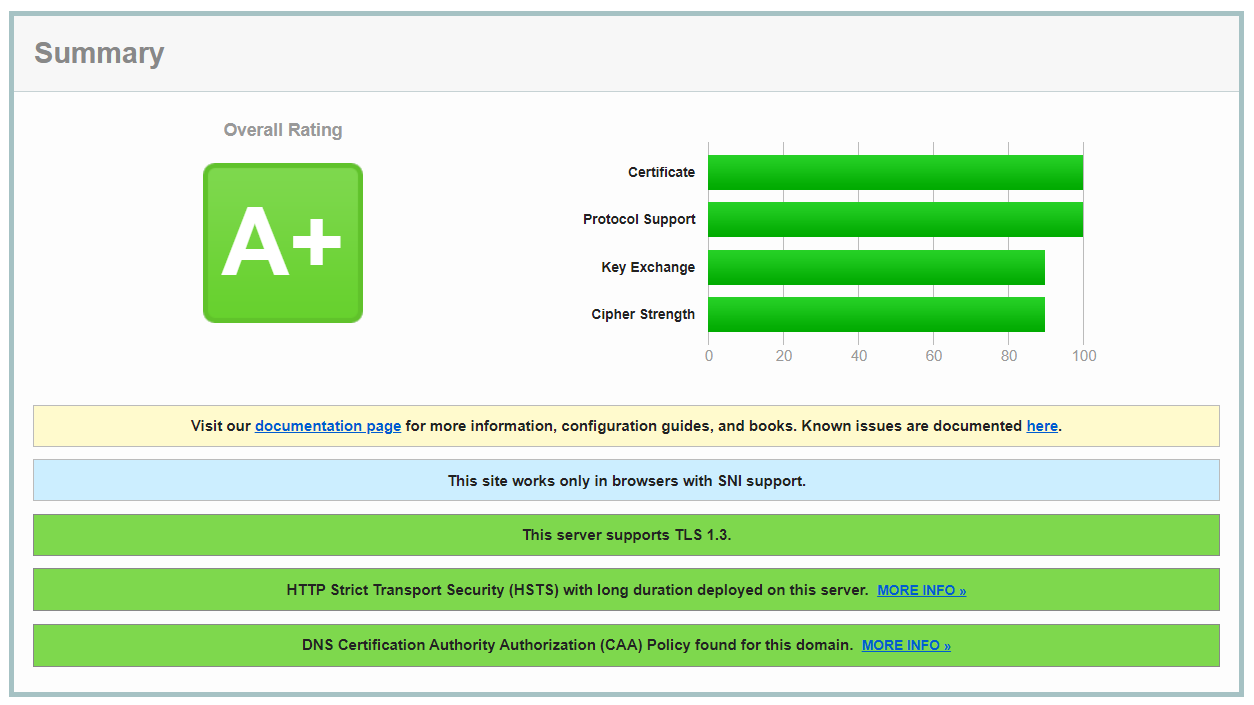
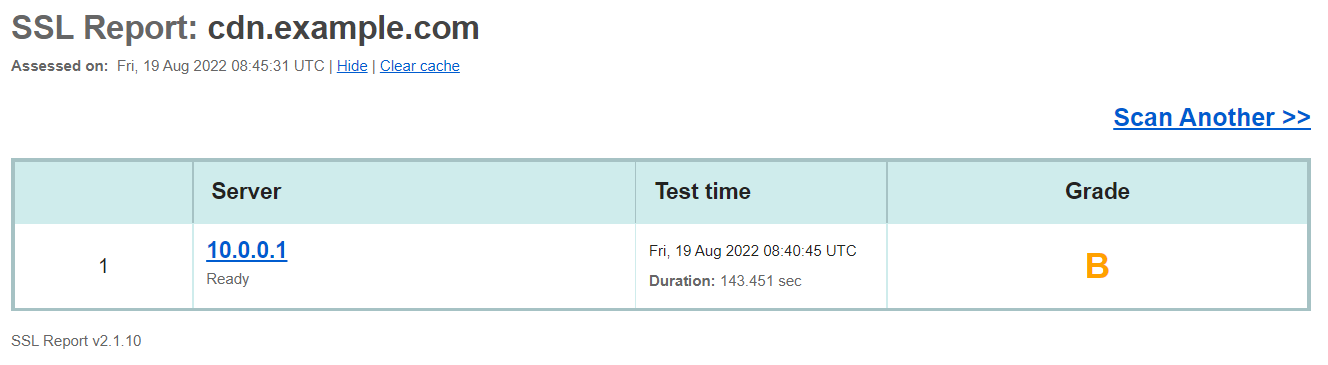
If HTTPS delivery works after these SSL checks, stop. If the object still fails to load, continue with Cache behavior and Cache purge.
Cache behavior
Wrong cache settings rarely make content unavailable. They more often serve a stale object or keep the origin busy. If the CDN hostname returns an error or an empty response, continue with Cache purge. If the object loads but looks outdated or the cache hit ratio is unexpectedly low, use the low cache hit ratio checks.
- 1
Inspect cache response headers
Request a CDN object with GET and discard the body, then inspect
CacheandCache-Control.curl -sS -D - -o /dev/null https://cdn.example.com/image.png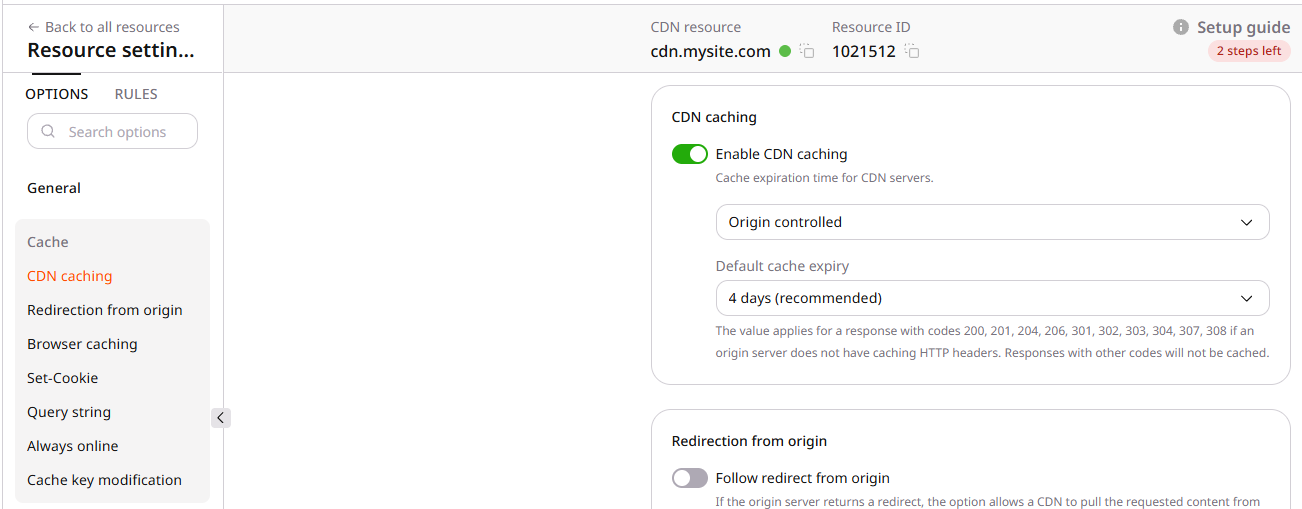
- 2
Review query string and Set-Cookie
Ignore query string and Ignore Set-Cookie change how variants share a cache key. Enable them only when those values do not select different content or personalize the response. Otherwise, clients can receive the wrong cached object. Configuration is in the query string article.
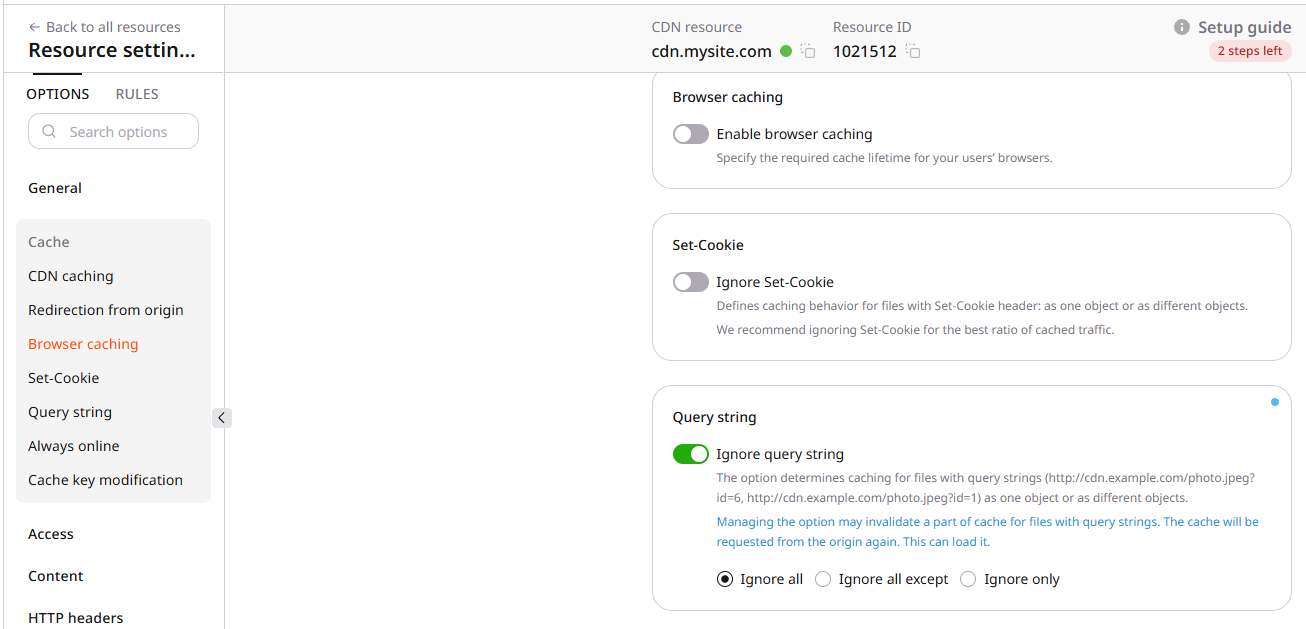
After changing cache settings, click Save changes, purge the affected URL, then retest.
Cache purge
A stale or wrong object can remain in cache after origin or settings changes. Confirm the purge in history, then confirm cache status on the object. Content-Length and ETag can differ because of compression or transformation, so matching those values does not prove that a purge succeeded.
- 1
Check Purge history
Open Purge history and wait until the request status is Successful. Then test the object. History keeps requests for the past month. Details are in the purge article.
- 2
Verify miss or bypass then hit
Request the object from the CDN hostname with GET, discarding the body, and copy the
X-IDheader. That value identifies the edge that handled the request.curl -sS -D - -o /dev/null https://cdn.example.com/image.pngResolve the edge IP from that
X-IDvalue:nslookup m9-up-e245.fe.gc.onlReplace
m9-up-e245with theX-IDfrom the response. Usedigin place ofnslookupif that is the local DNS tool.Pin the next request to the same edge so both responses come from one server:
curl -sS -D - -o /dev/null \
  --resolve cdn.example.com:443:203.0.113.10 \
  https://cdn.example.com/image.png
Replace
cdn.example.comwith the CDN hostname and203.0.113.10with the edge IP. An initialCache: MISSorCache: BYPASS, followed byCache: HITon the pinned request, means that edge fetched a fresh copy and then served it from cache. - 3
Purge again with a supported pattern
If the object is still stale, purge again. Purge patterns are not regular expressions. Each path must start with
/and can use*to replace any number of characters. Examples:Purge target Pattern One file, including query-string variants /static/image.jpgAll files in a folder /static/*All .jpgfiles in a folder/static/*.jpgIf delivery still fails after these checks, contact CDB Support.