In some cases, you might need to personalize the response page displayed to users when a particular custom rule or WAAP policy is triggered. For instance, to add contact information, adjust the message according to your brand's voice and tone, or provide additional validation instructions.
To do so, you need to create a new custom response page, as described in the following instructions.
💡
Tip
For guidelines on how to modify or delete custom response pages, as well as change domains where those pages appear, check out the Manage custom response pages guide.
Create a custom response page
Creating custom response pages allows you to display different messages to your users based on which domains they are navigating to. You can create up to 6 page sets.
Note that creating custom response pages is only available at the account level. You can't add and modify pages in domain settings.
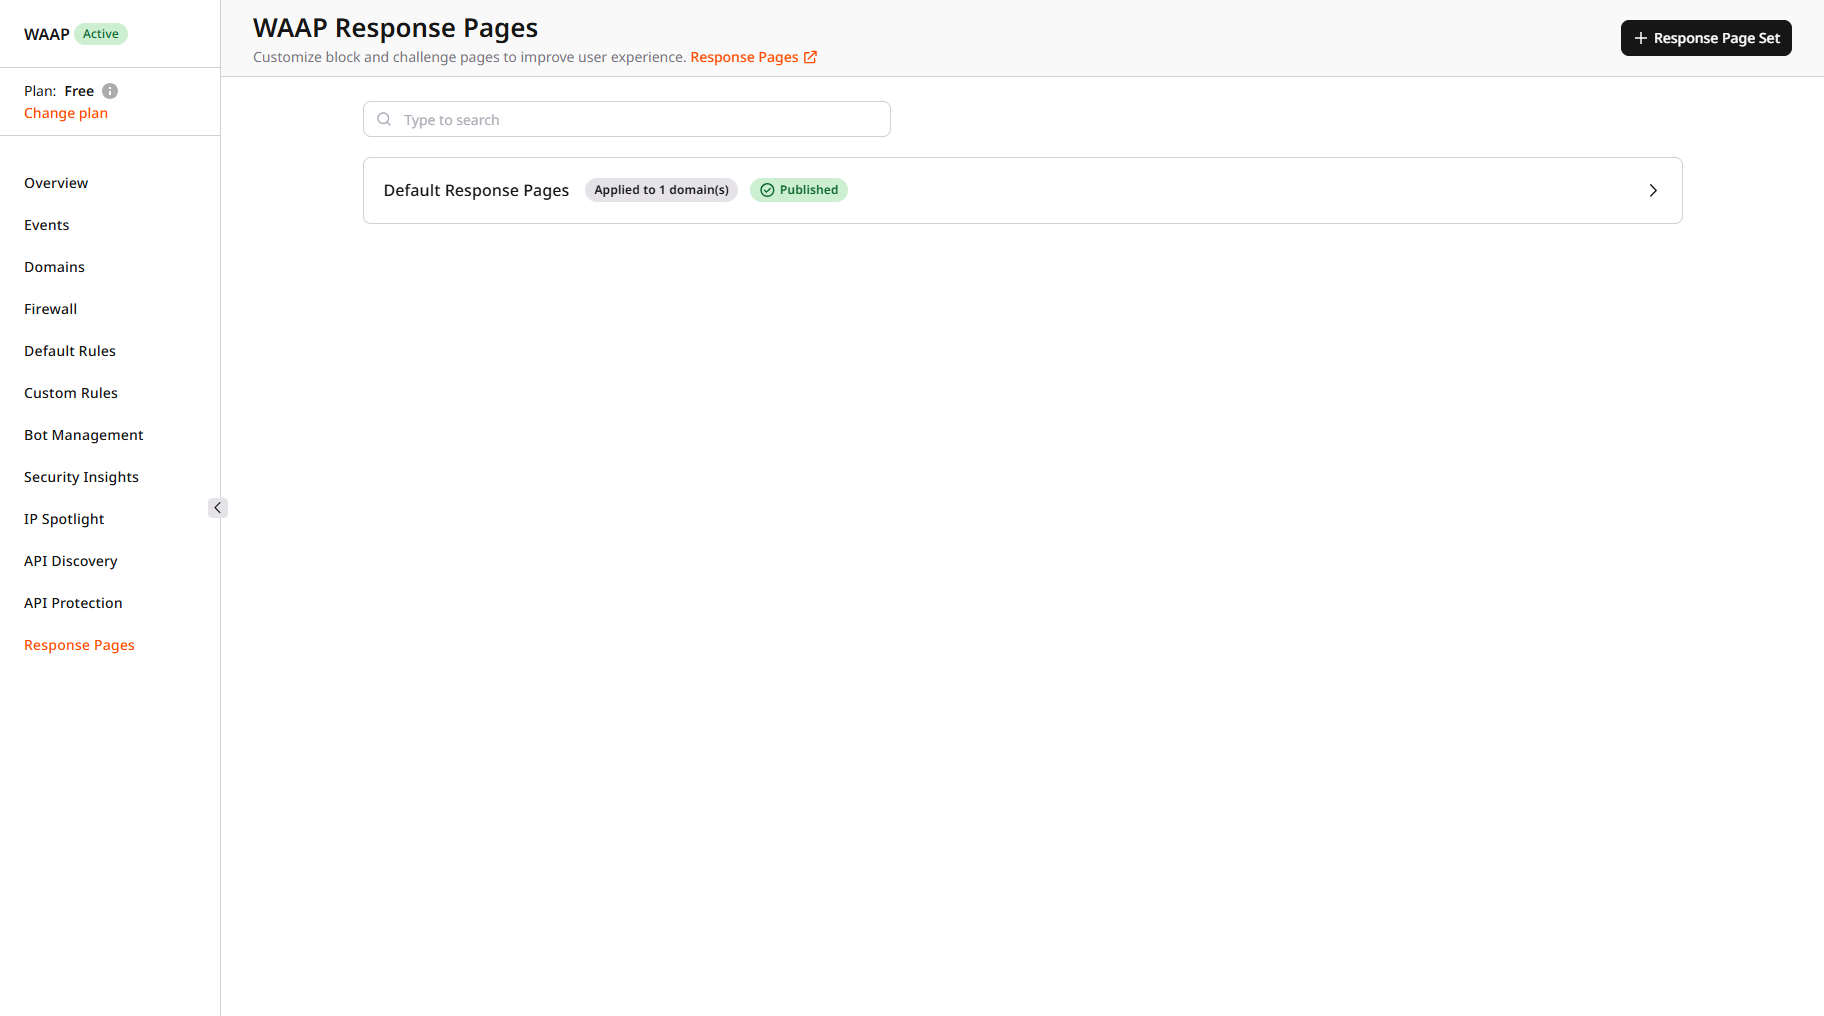
2. In the upper-right corner of the screen, click Response Page Set.
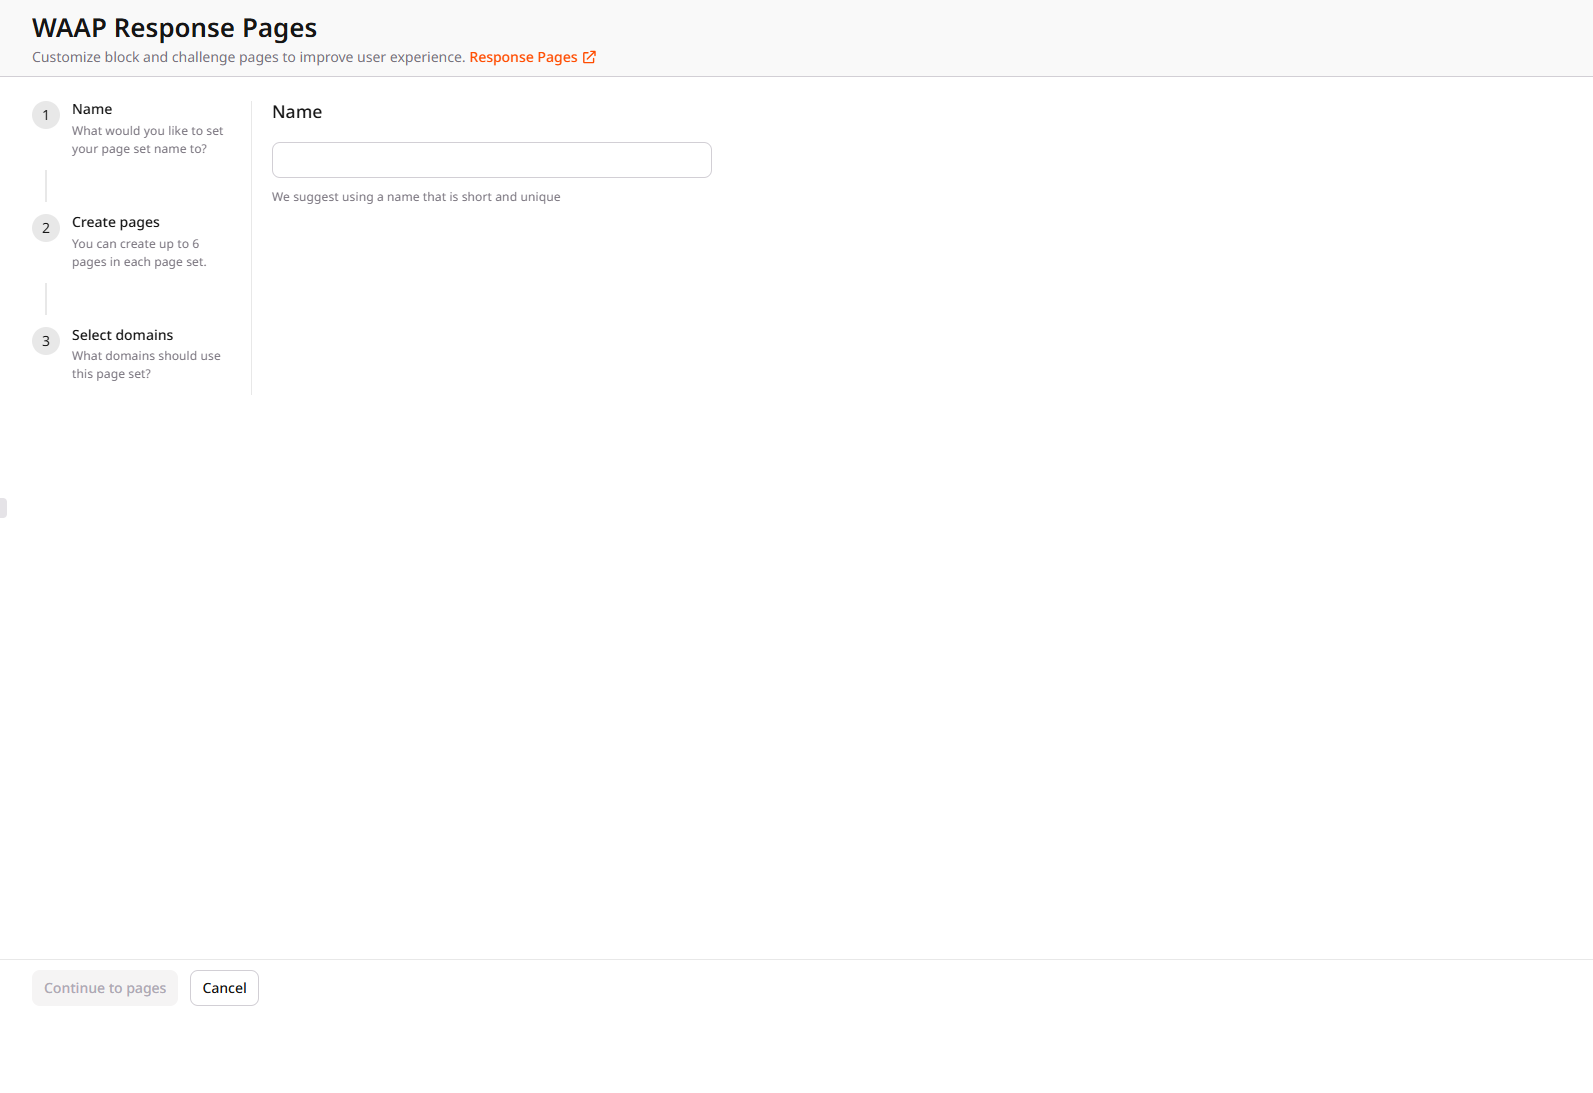
Step 2. Give your page set a name
1. Enter a unique name for your page set that's easy to distinguish from the default response pages. The name can be up to 50 characters long.
2. Click Continue to pages to proceed with the next steps.
Step 3. Configure the selected response page
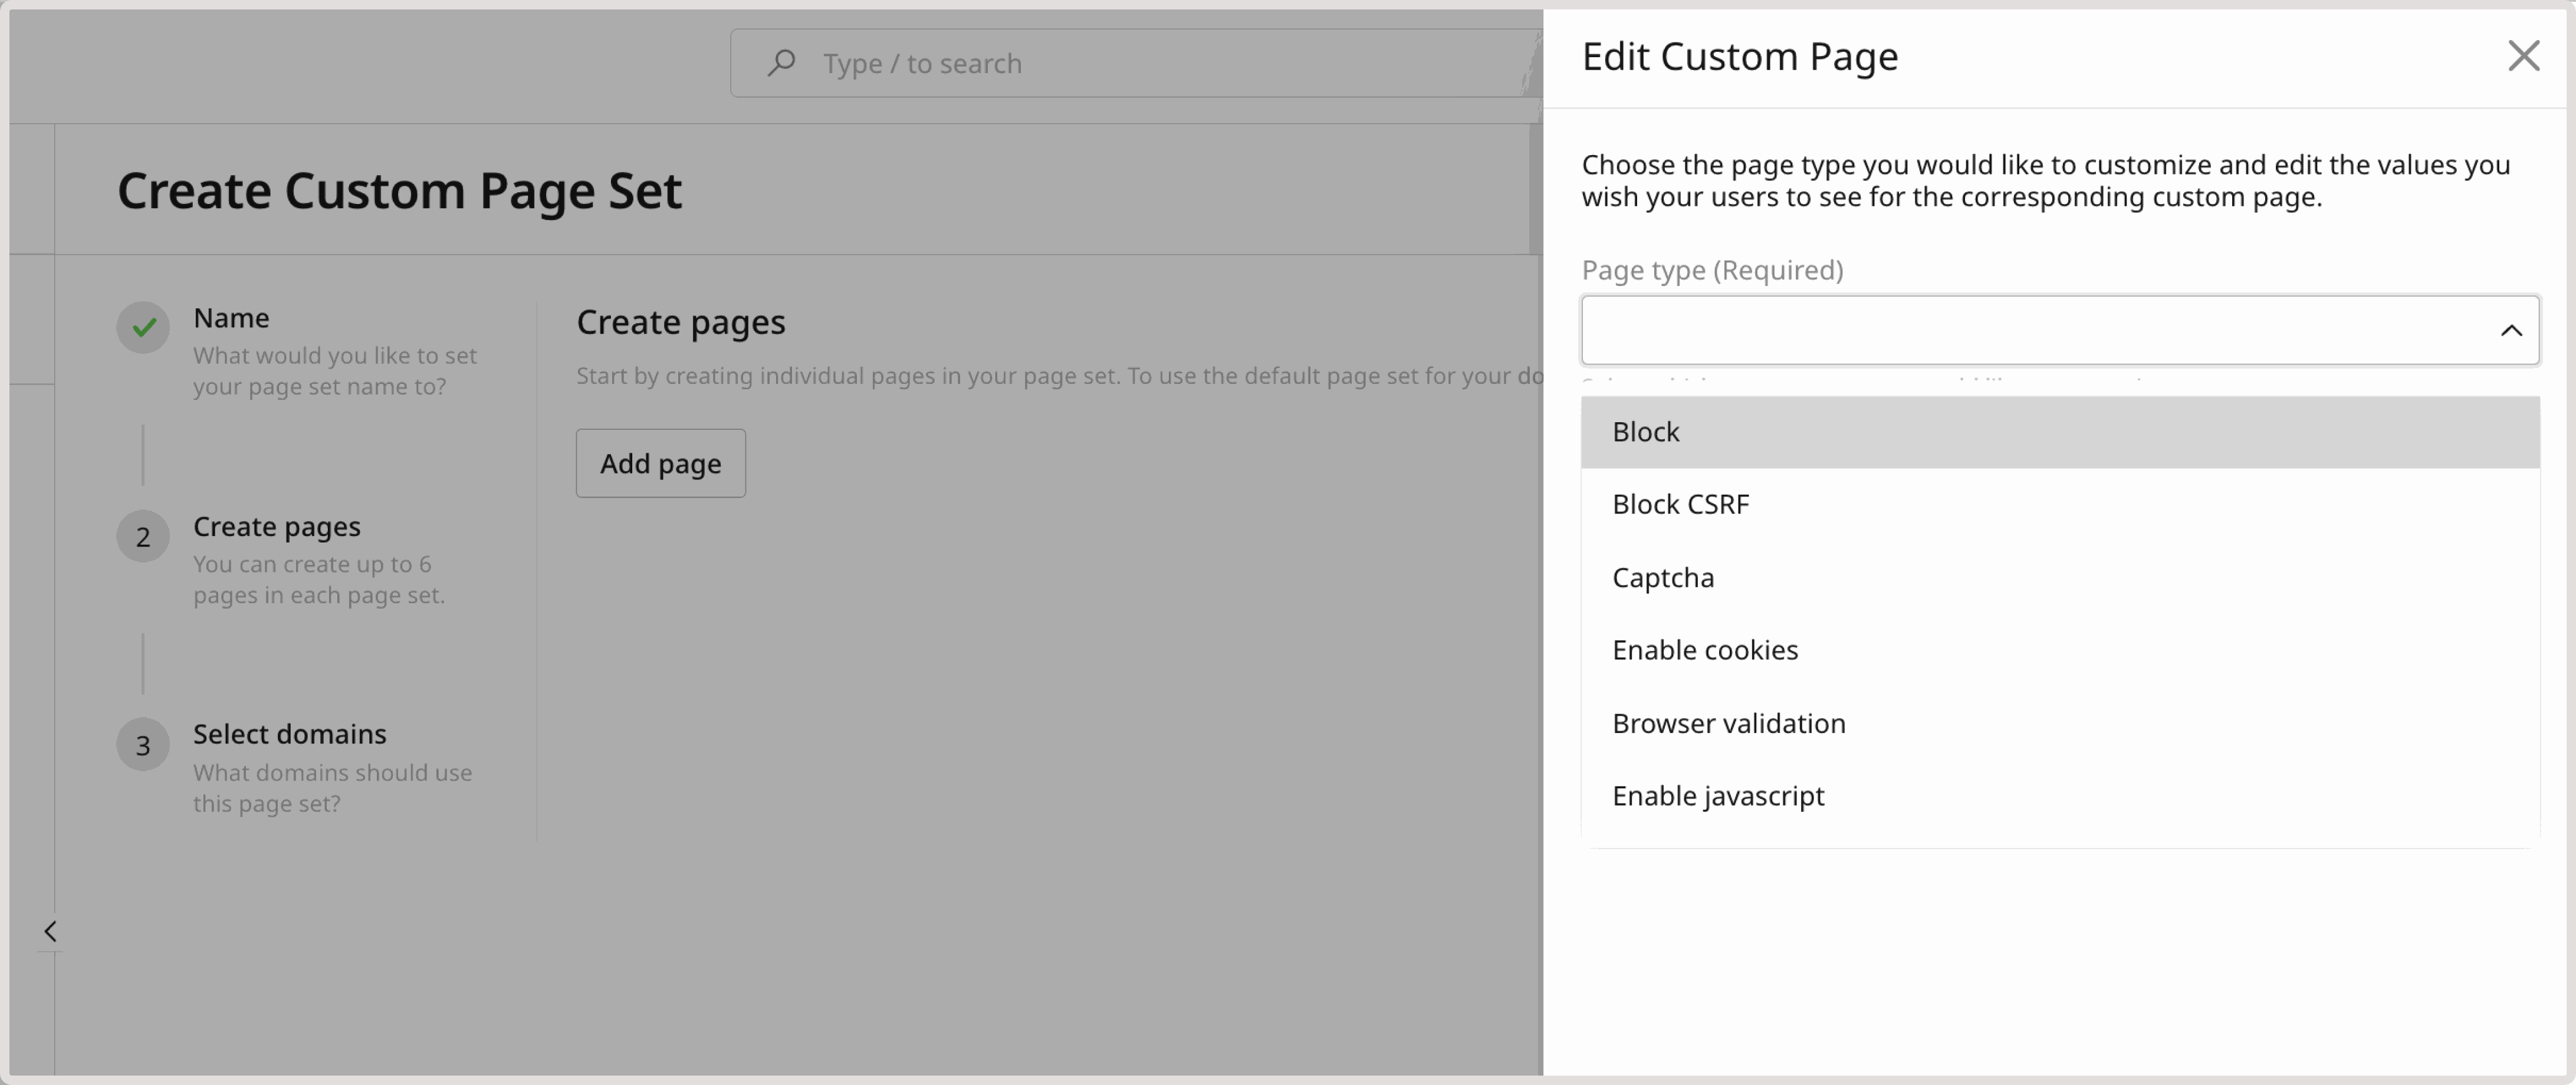
1. In the Create pages section, click Add page.
2. In the sidebar menu that opens, choose the default page type that you want to customize:
Block
Block CSRF
Captcha
Enable cookies
Browser validation
Enable javascript
Step 4. Configure the selected response page
Configure the default response page you've selected in the previous step. Note that page customization options will vary depending on the type of page you want to modify.
Browser title
Add the text that will appear as the title in your web browser's tab where the custom response page is open. The title can be up to 62 characters.
You can add browser title to the following response pages: Browser validation, Captcha, Block, Block CSRF.
Page title
Provide the name of your custom page. You can add a page title to all response pages.
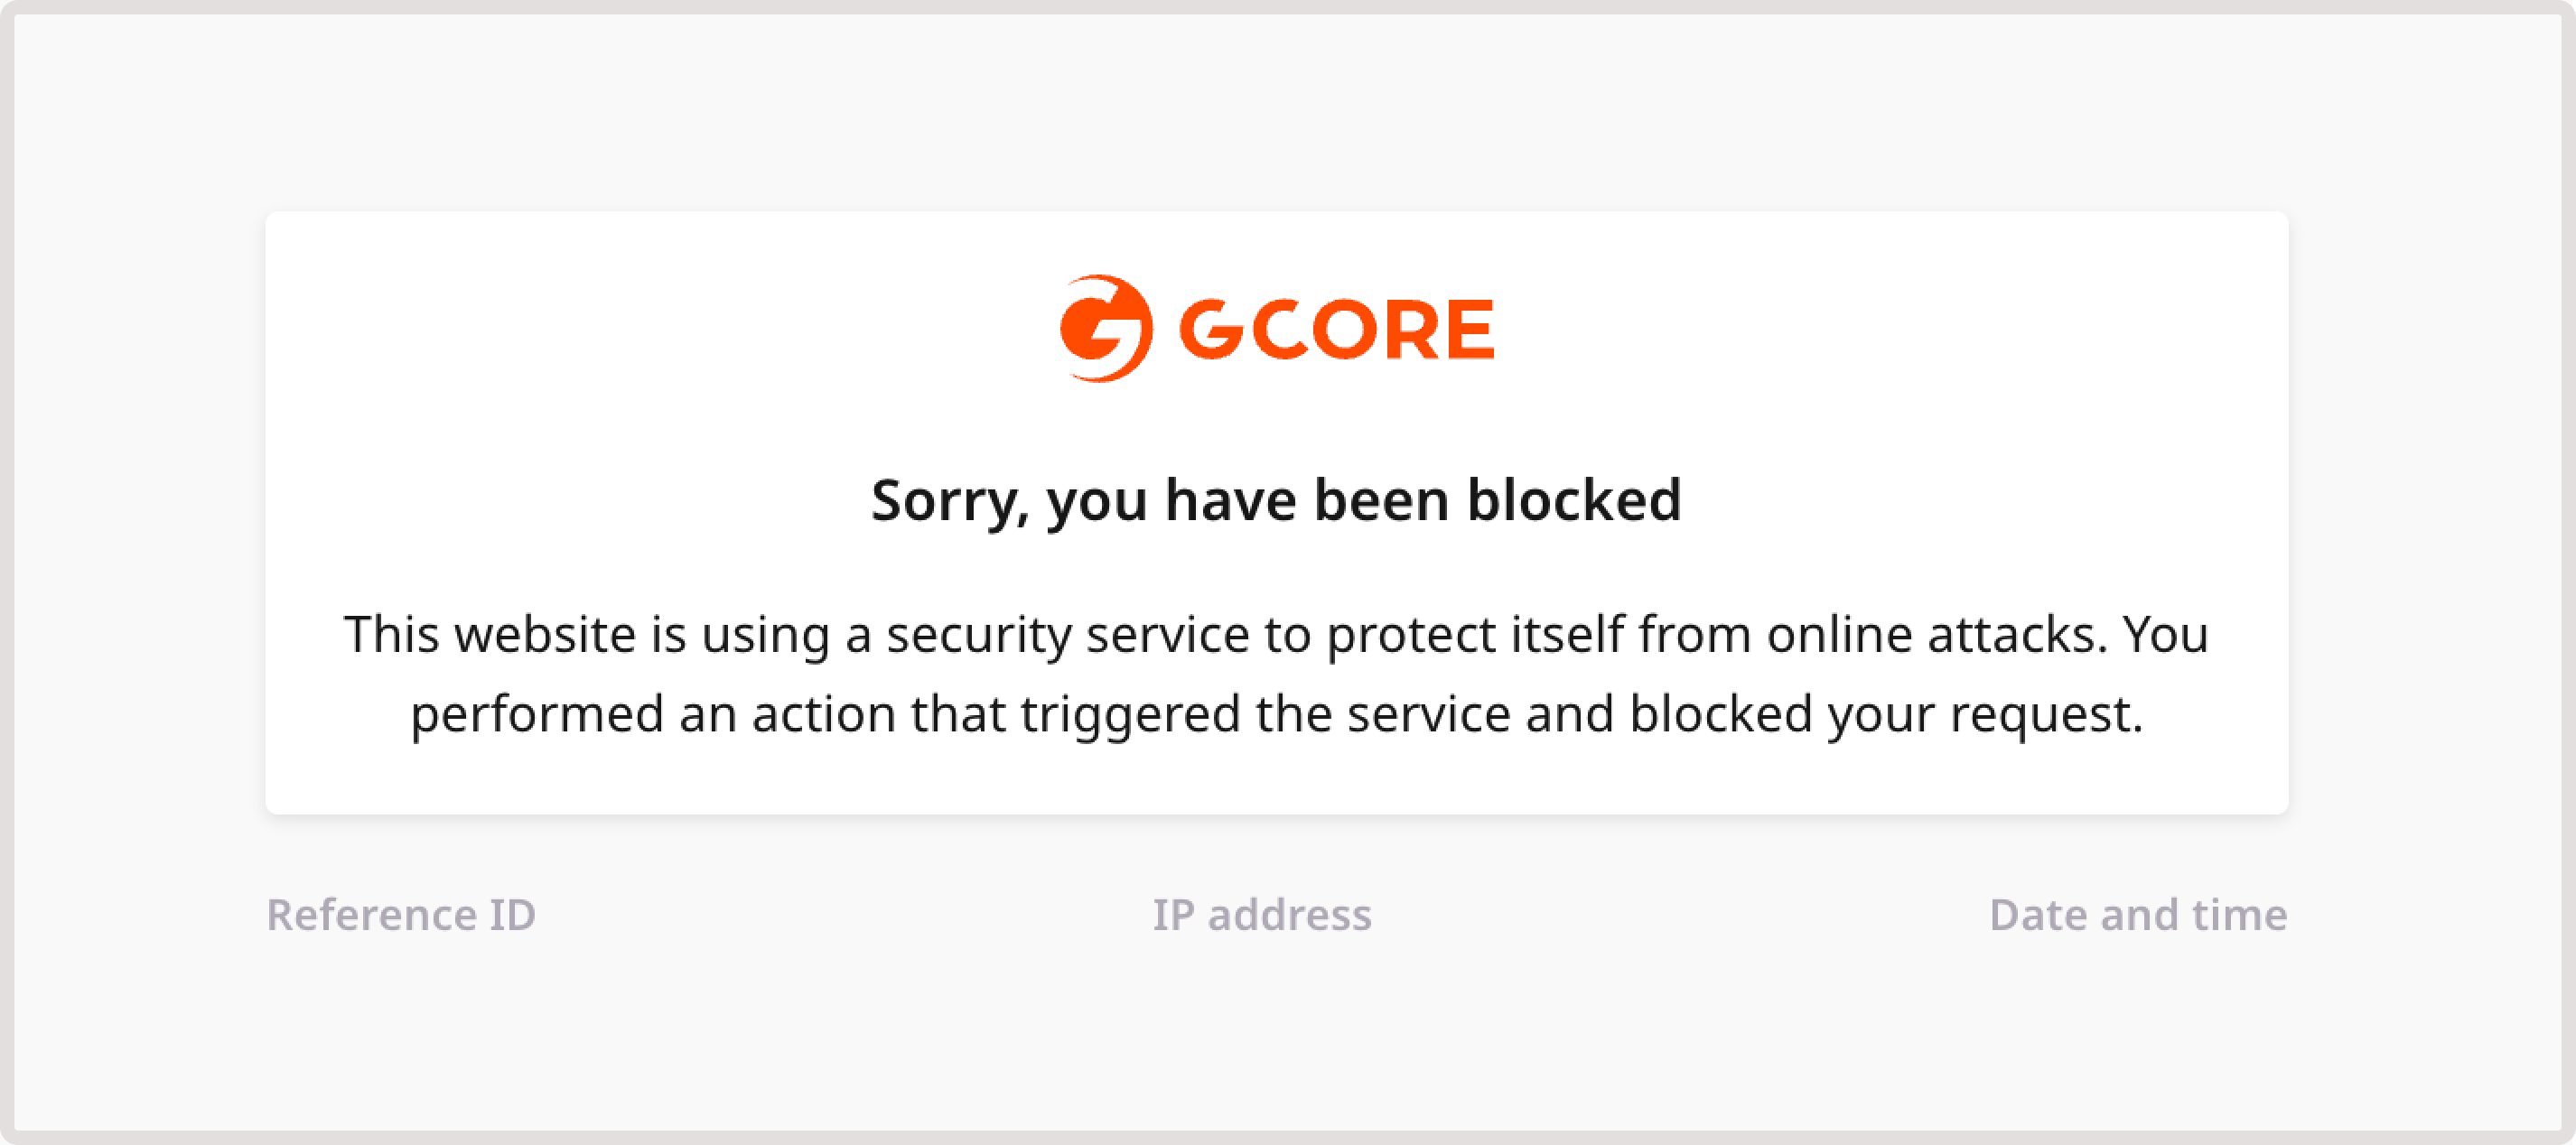
For example, in following screenshot, the text "Sorry, you've been blocked" is a page title.
Page message
Enter a body text that will be displayed under the page title. This is a good place to explain why a user has been challenged or blocked and what they should do to pass the check or obtain access to a domain.
You can add a message to all response pages except for Browser validation.
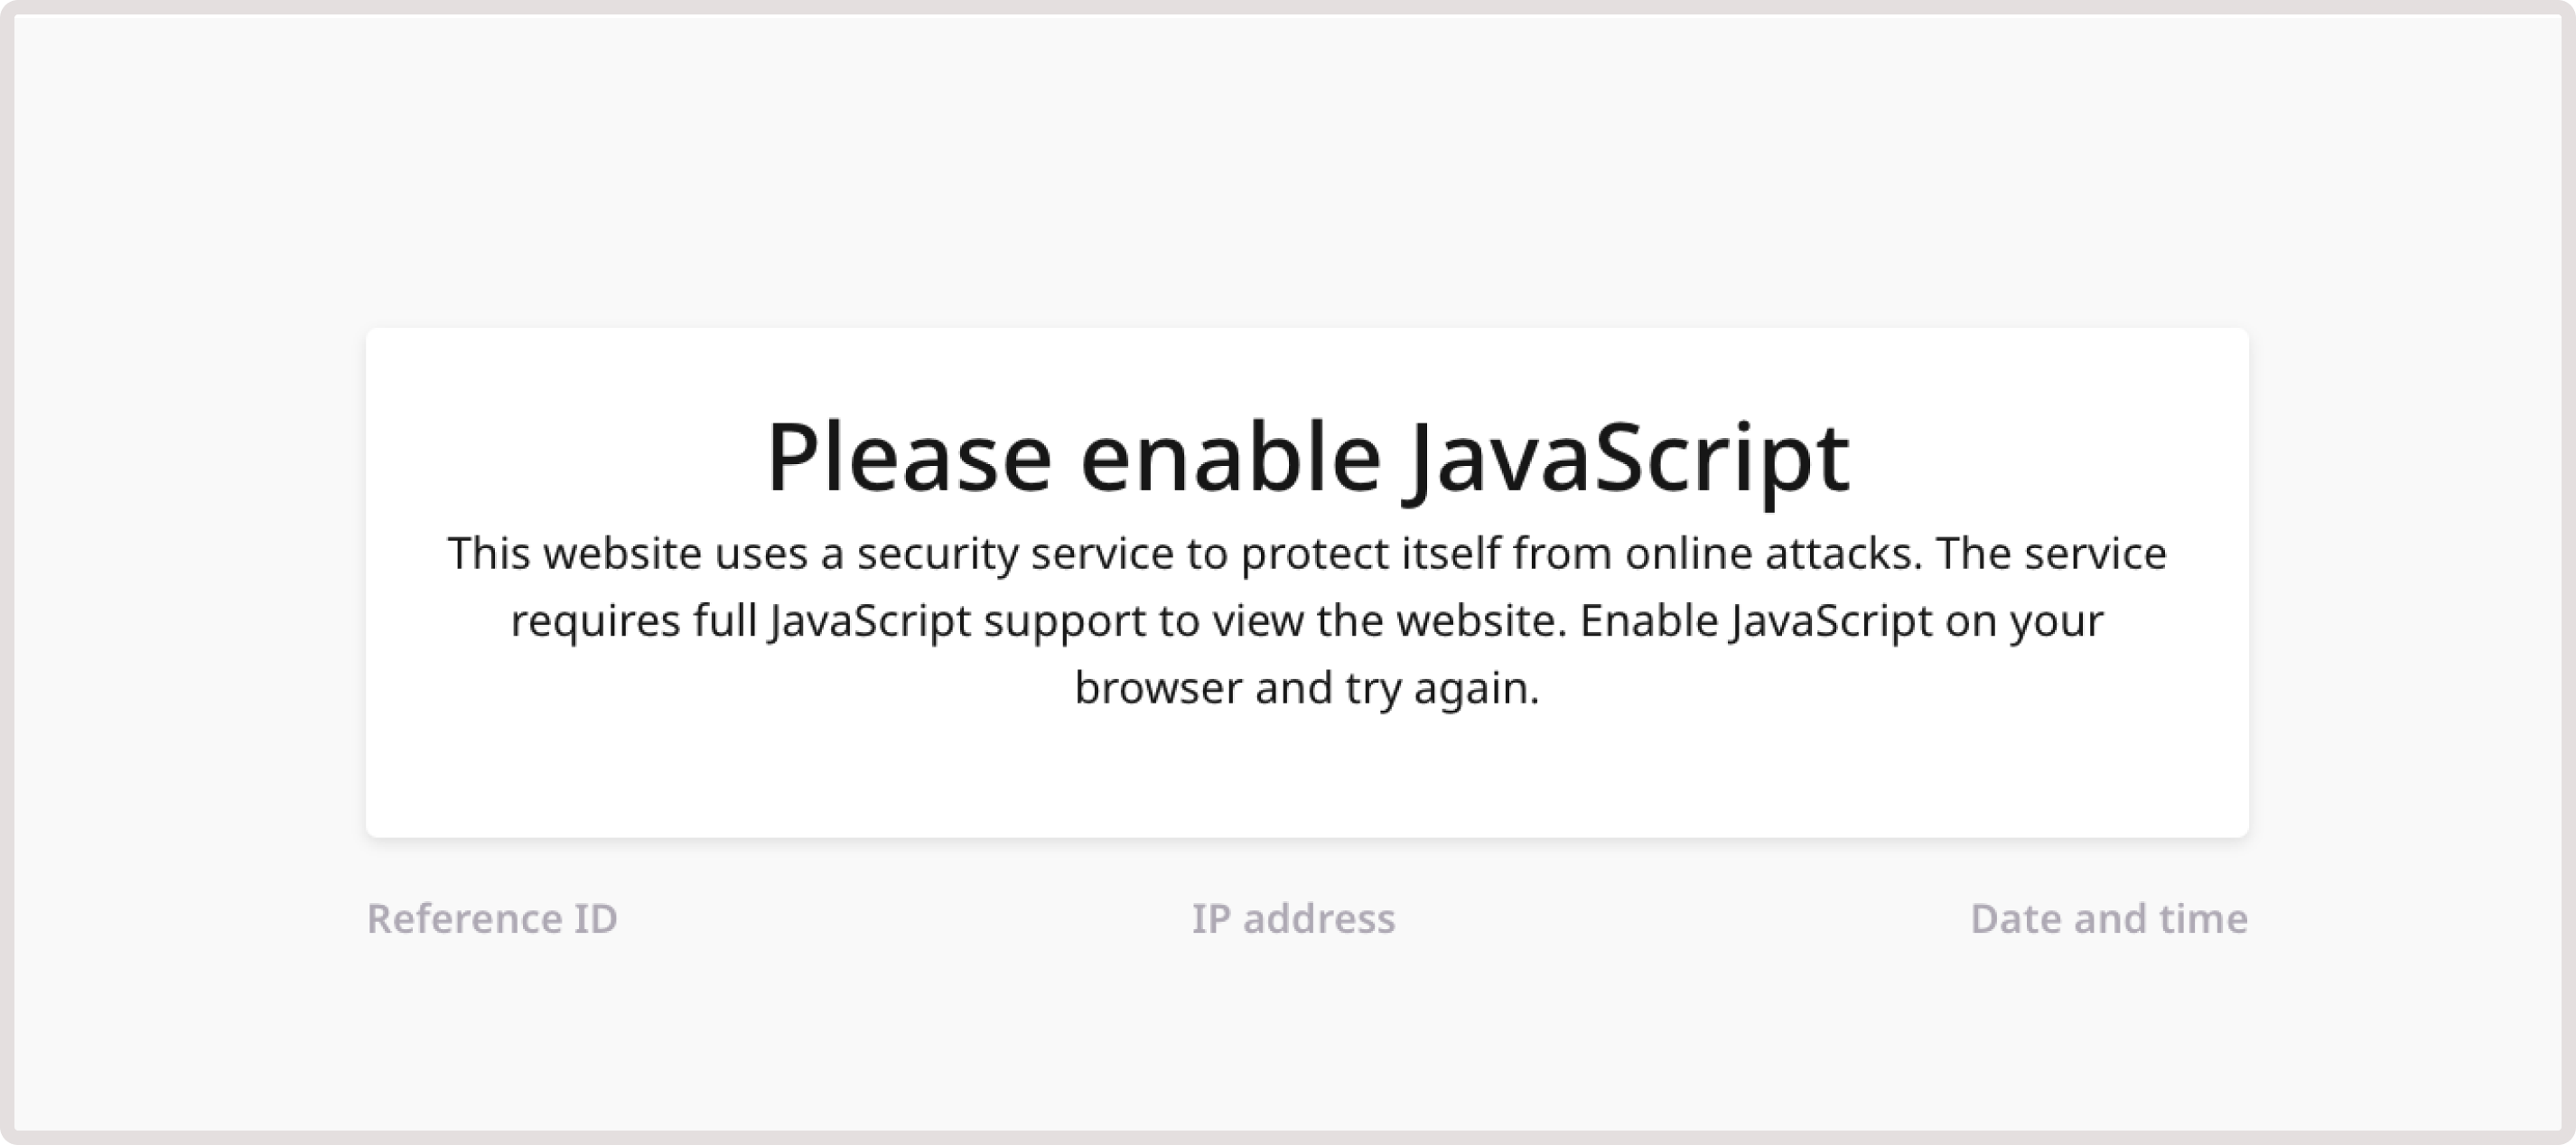
For example, in the following screenshot, the message informs users that they need to have JavaScript enabled to access the domain.
Error message
Provide a message that will be displayed when a client fails to pass the validation. This is only available for a Captcha page.
Upload image (optional)
Add an image that'll appear on the page. The image should be in jpeg, png, or jpg format and have the following dimensions: 450px *130 px, 24KB maximum size. If you don't upload an image, then the default image will be applied.
You can add images to the following response pages: Browser validation, Captcha, Block, Block CSRF.
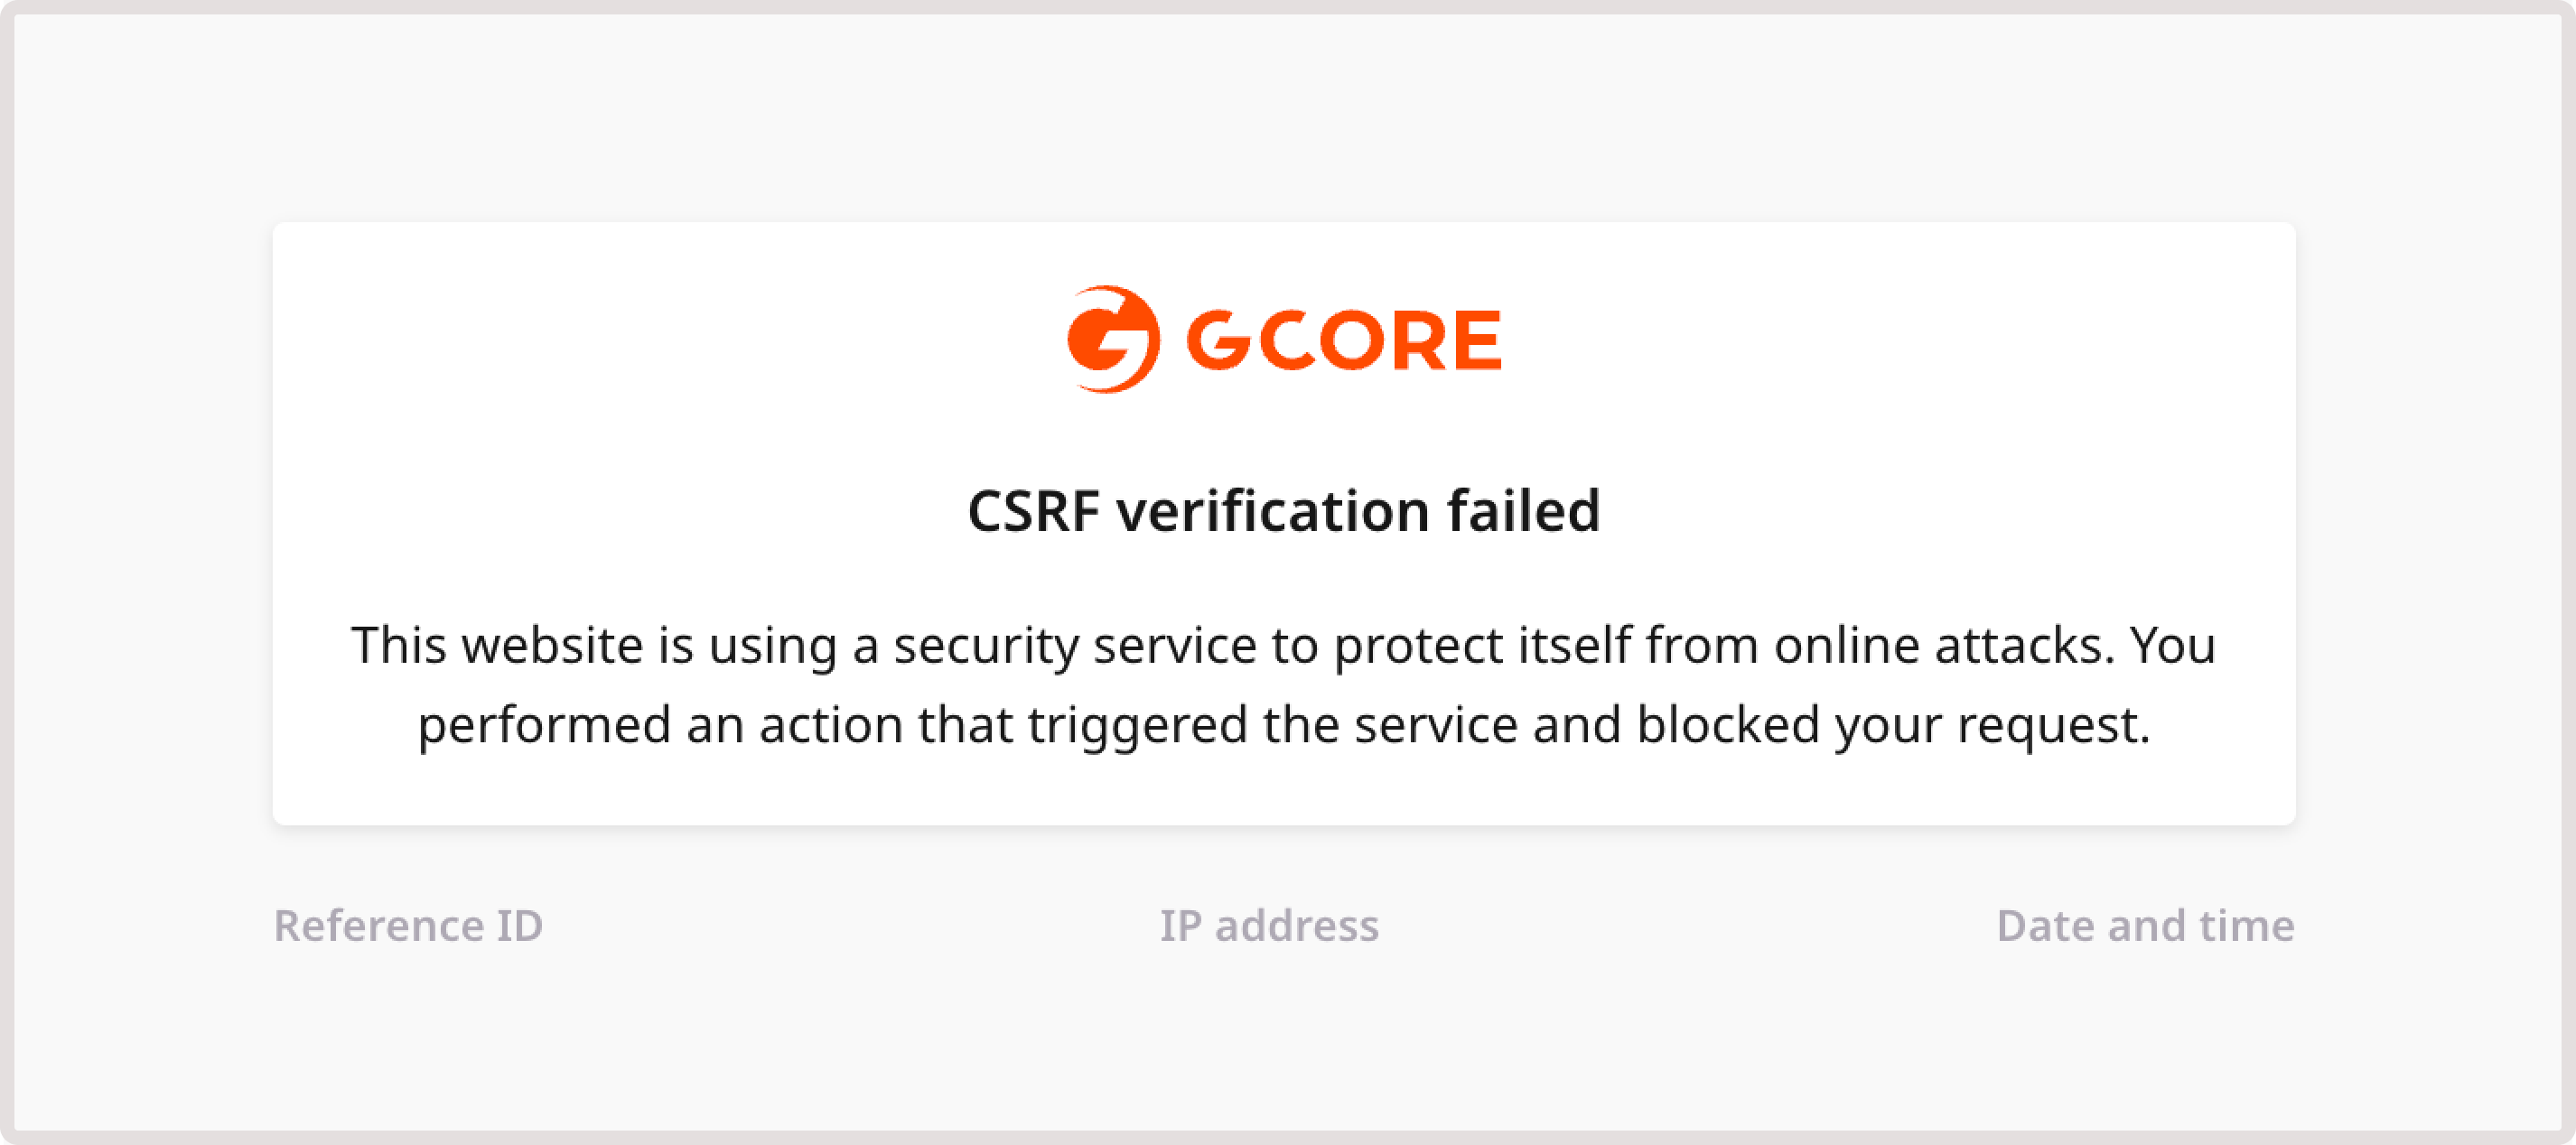
Here's an example of a Block CSRF page with the default CDB image:
Step 5. Configure page status
Optionally, you can enable the Page active status checkbox to make the custom response page publicly available after creation.
If you don't enable the toggle, the page won't be available for use on any domains, and the default response pages will be used instead. In such a case, you'll need to manually change its status to Active.
Step 6. Finalize page setup
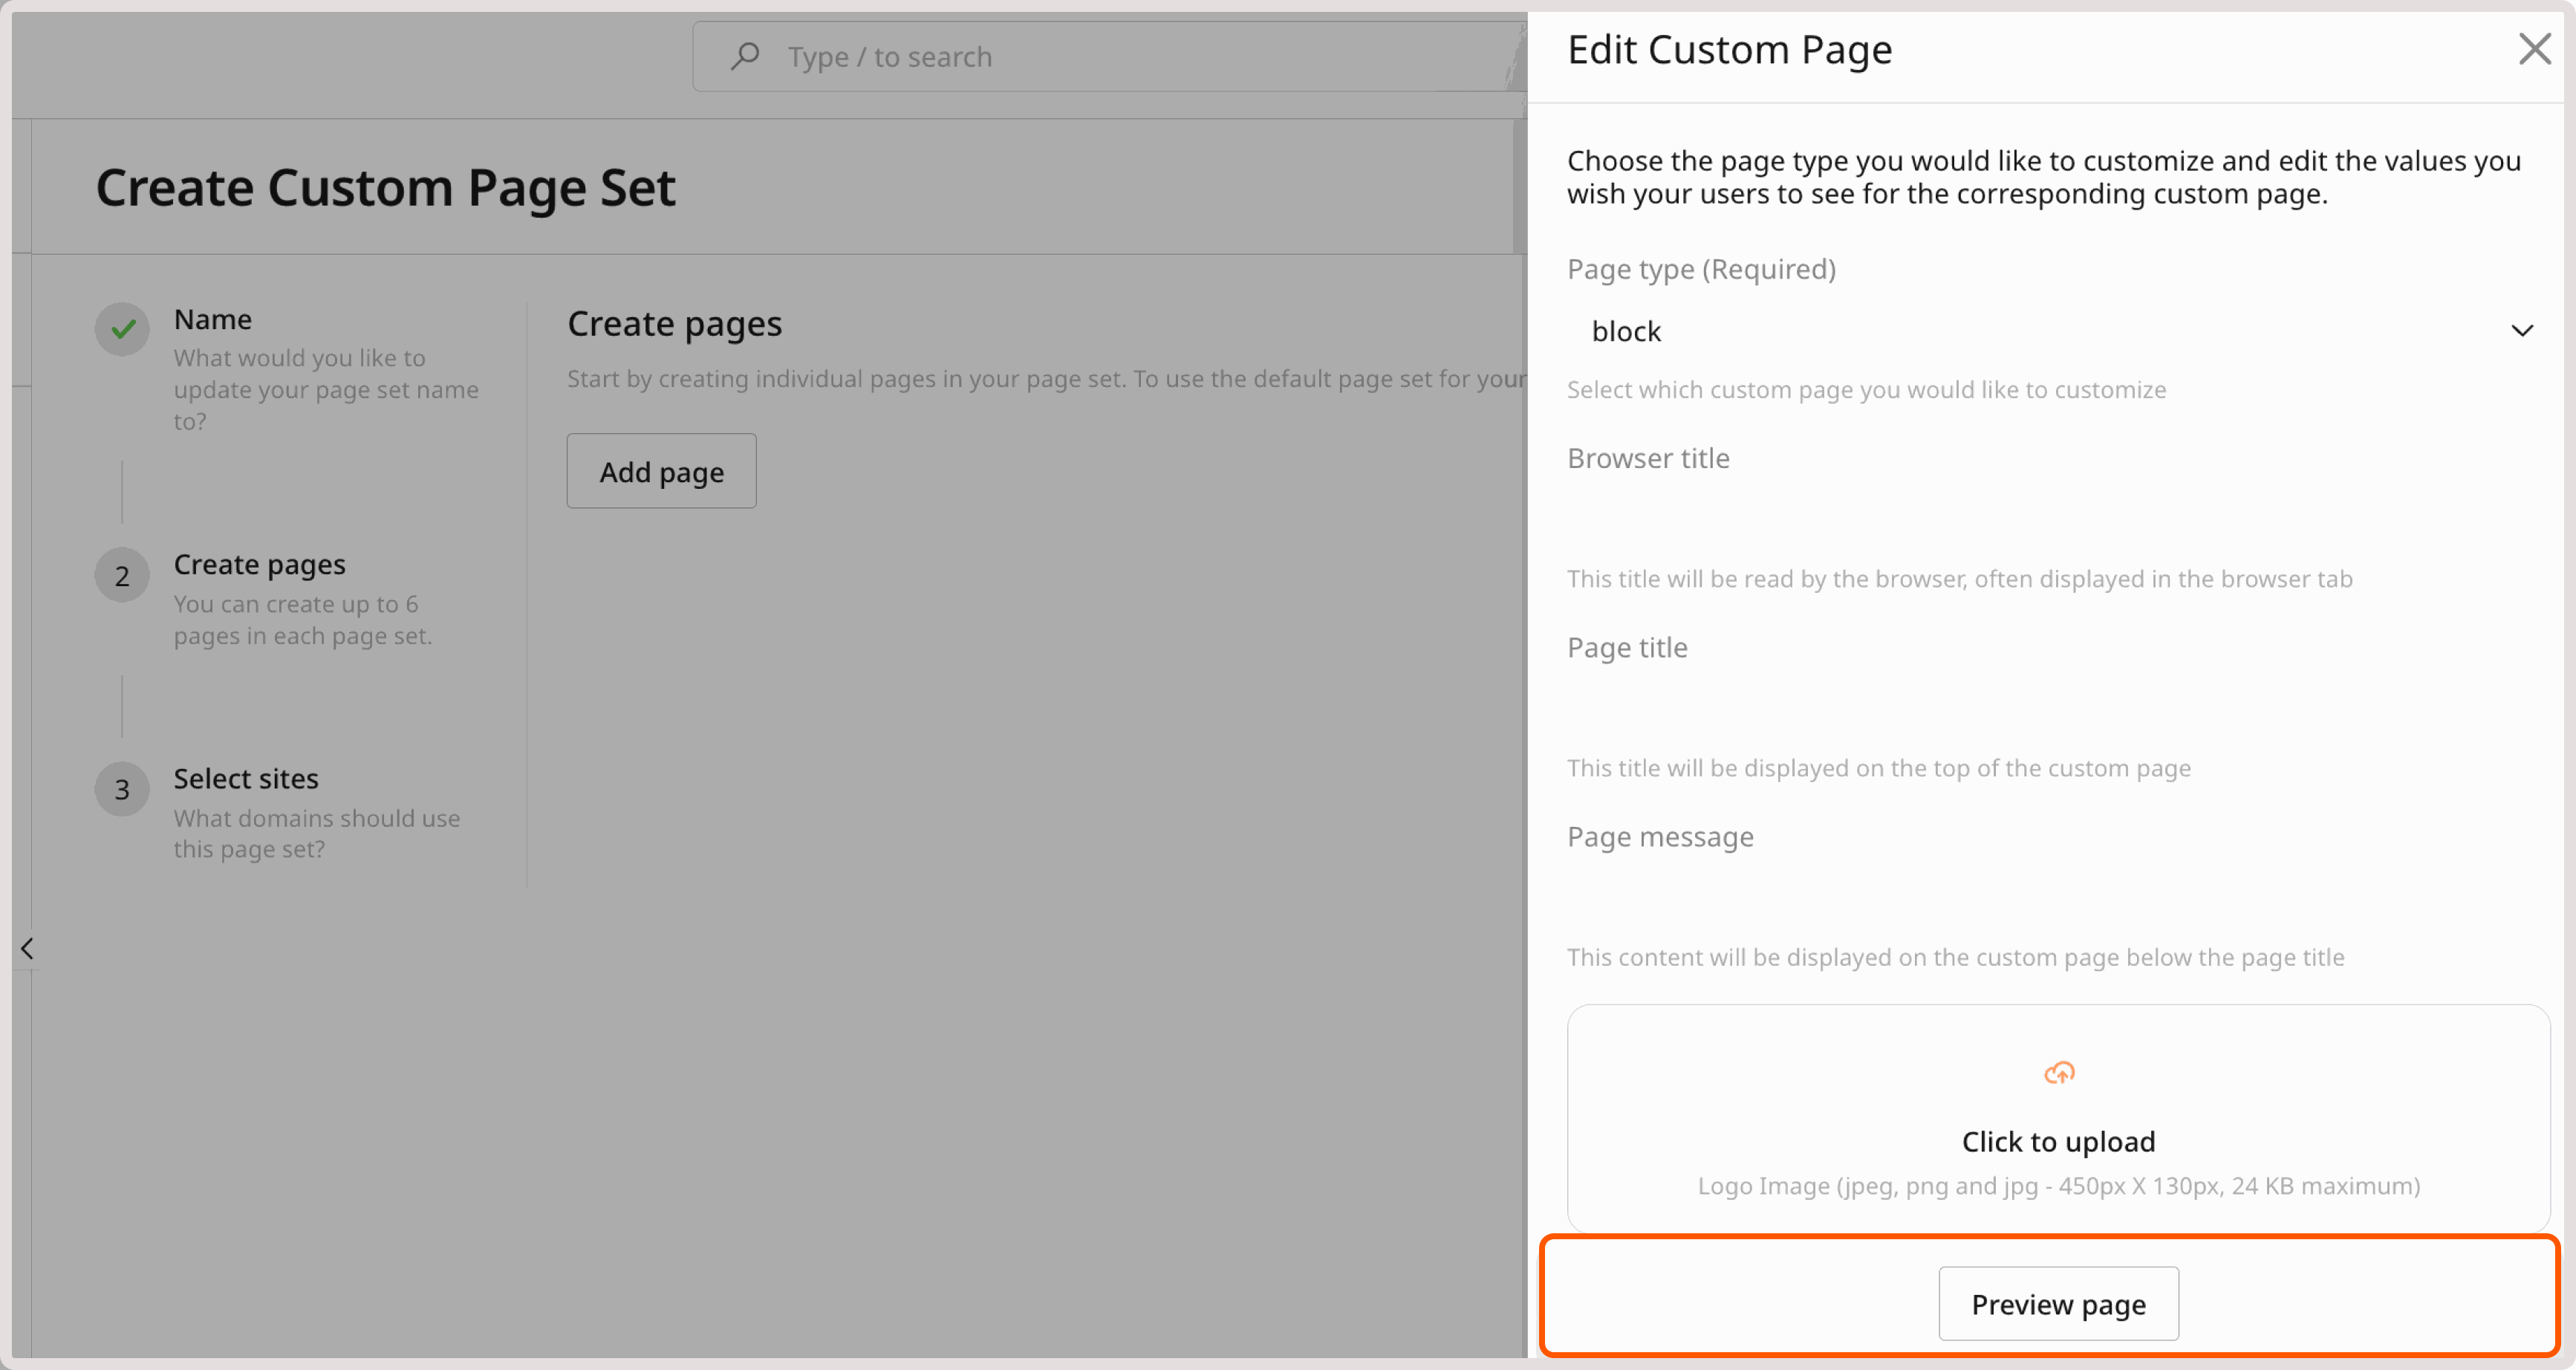
1. Click Preview page to check what it'll look like.
2. If you're satisfied with the changes, click Save to create the page.
3. Click Continue to domains to proceed with the next steps.
Step 7. Associate the page with domains
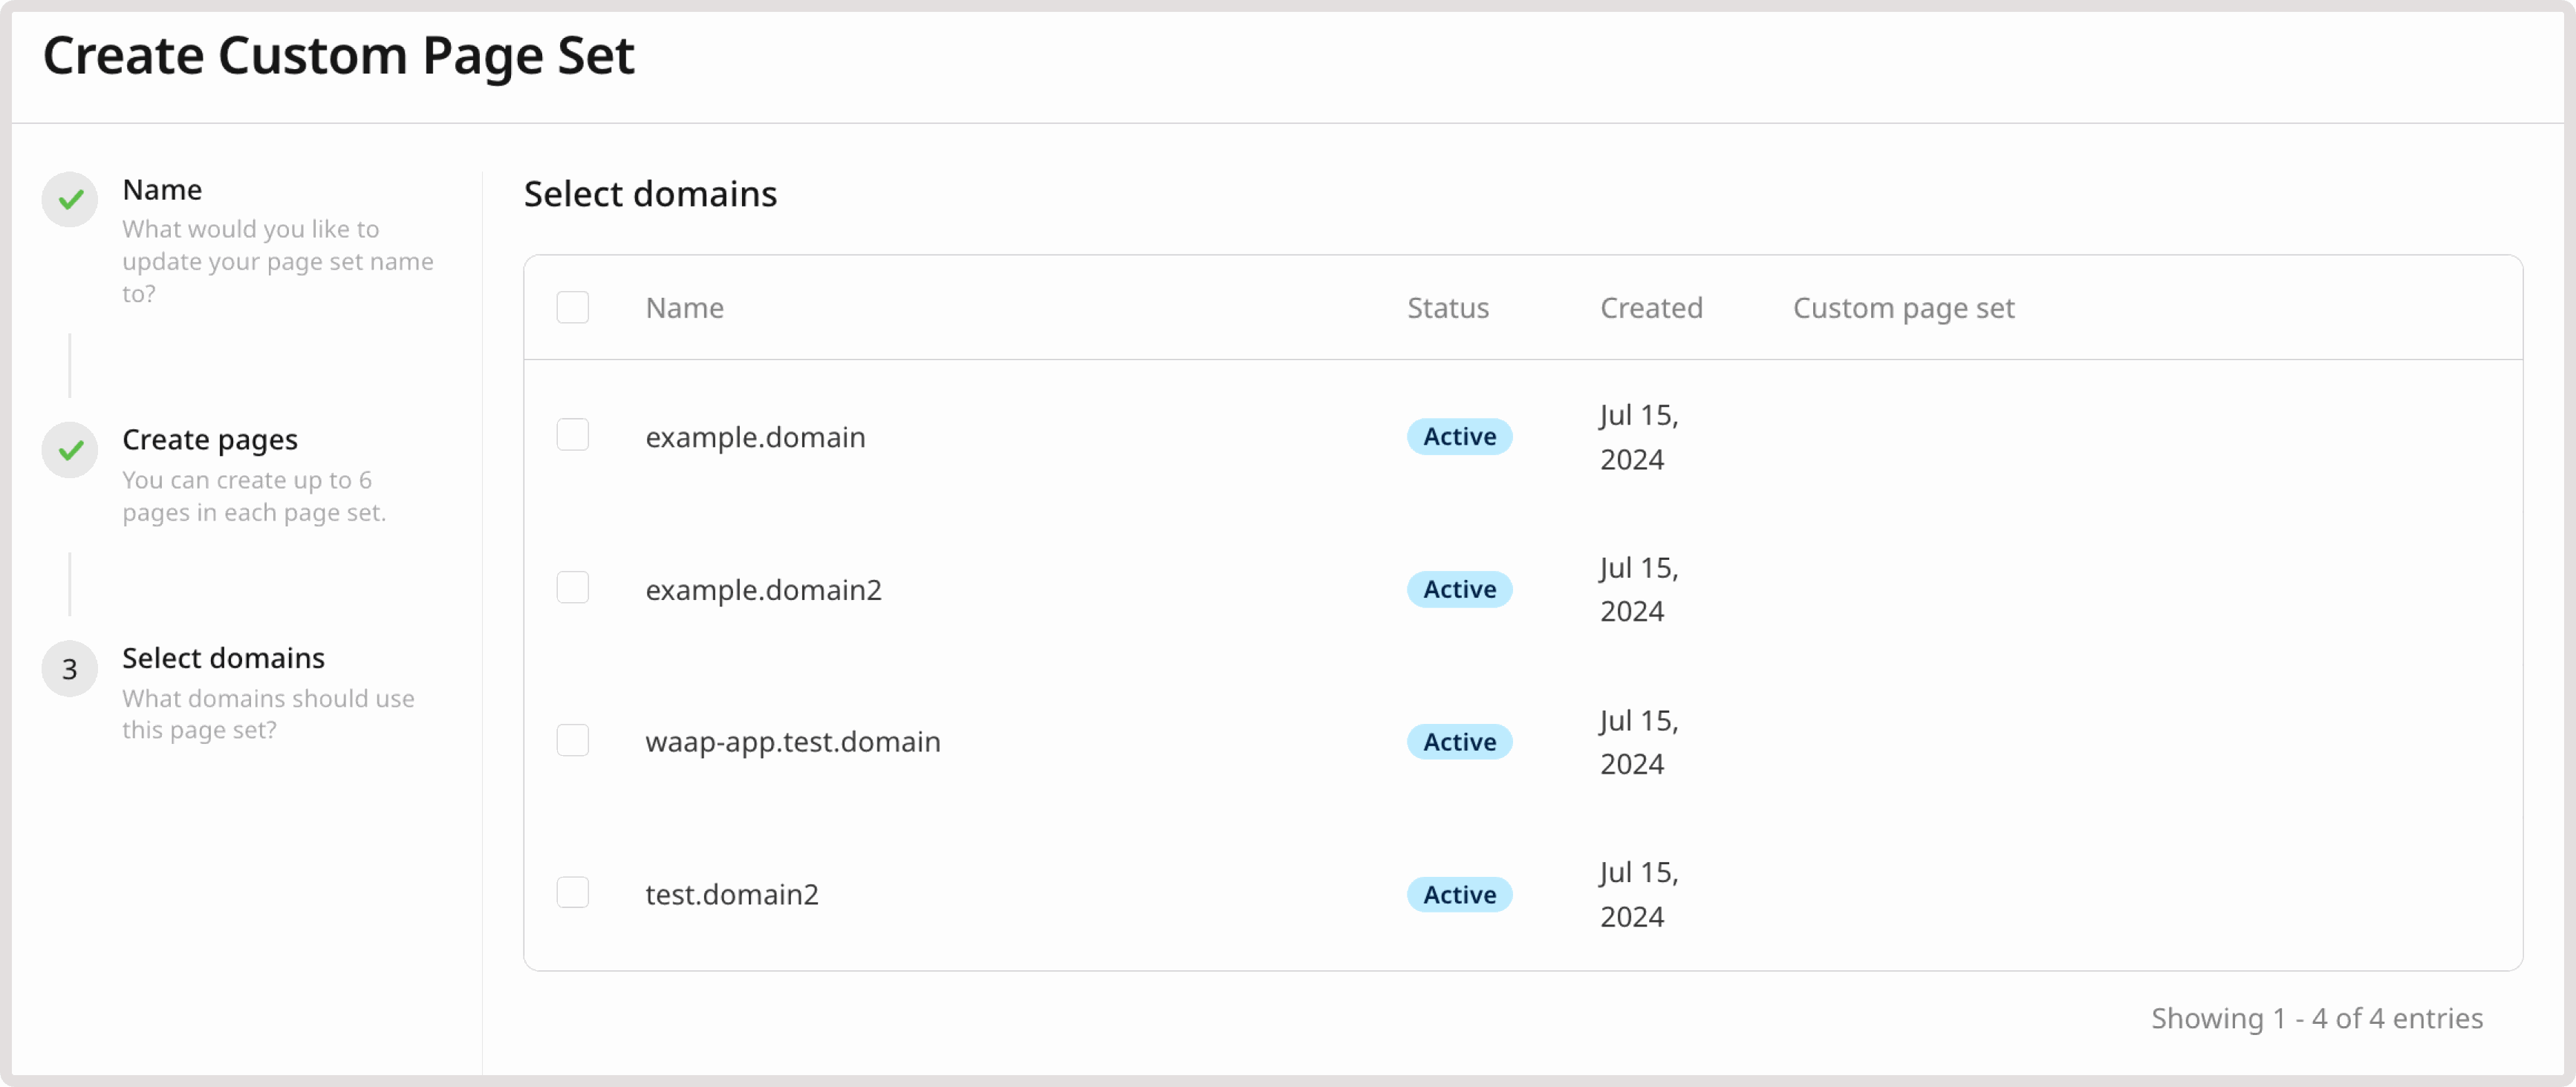
1. Select the domains where the new custom response page will appear.
2. Click Save to add the page to the selected domains.
The page set will be created with the Unpublished state. It'll change to Published after a few moments.
ℹ️
Info
For instructions on how to edit and delete custom response pages, as well as change associated domains, check out the Manage custom response pages guide.
A Custom Page Sets resource contains one or more customized response pages (Block, Captcha, Browser validation, and others) and can be assigned to multiple domains. All pages not included in the set use the default CDB response page. Response examples include only the fields used in each step.
ℹ️
An API token is required. To assign the page set to a domain, retrieve the WAAP domain ID via GET /docs/waap/v1/domains.
Create a page set with a custom Block page and assign it to a domain.
import gcore
import os

client = gcore.CDB()
domain_id = int(os.environ["WAAP_DOMAIN_ID"])

page_set = client.waap.custom_page_sets.create(
    name="My custom pages",
    domains=[domain_id],
    block={
        "enabled": True,
        "header": "Access Denied",
        "title": "You have been blocked",
        "text": "Your request has been blocked. Contact support if you believe this is an error.",
    },
)
print(f"Created page set id={page_set.id}")
package main

import (
    "context"
    "fmt"
    "os"
    "strconv"

    gcore "github.com/G-Core/gcore-go"
    "github.com/G-Core/gcore-go/waap"
)

func main() {
    client := gcore.NewClient()
    domainID, _ := strconv.ParseInt(os.Getenv("WAAP_DOMAIN_ID"), 10, 64)

    pageSet, err := client.Waap.CustomPageSets.New(context.Background(), waap.CustomPageSetNewParams{
        Name:    "My custom pages",
        Domains: []int64{domainID},
        Block: waap.CustomPageSetNewParamsBlock{
            Enabled: true,
            Header:  gcore.String("Access Denied"),
            Title:   gcore.String("You have been blocked"),
            Text:    gcore.String("Your request has been blocked. Contact support if you believe this is an error."),
        },
    })
    if err != nil {
        panic(err)
    }
    fmt.Printf("Created page set id=%d\n", pageSet.ID)
}
Page set parameters
Only name is required. Include only the page types to customize — unspecified types use the default CDB page. The table below maps Portal page type names to their API field names.
Portal name
API field
Fields available
Block
block
enabled, header, title, text, logo
Block CSRF
block_csrf
enabled, header, title, text, logo
Captcha
captcha
enabled, header, title, text, error, logo
Enable cookies
cookie_disabled
enabled, header, text
Browser validation
handshake
enabled, header, title, logo
Enable javascript
javascript_disabled
enabled, header, text
Field descriptions: enabled (required) — true activates the page immediately; header — browser tab title, up to 62 characters; title — page heading, up to 50 characters; text — body message, up to 400 characters; error — validation failure message, up to 400 characters (Captcha only); logo — base64-encoded image (JPEG/PNG/JPG, 450×130 px, max 24 KB).
import gcore
import os

client = gcore.CDB()
domain_id = int(os.environ["WAAP_DOMAIN_ID"])

page_set = client.waap.custom_page_sets.create(
    name="My custom pages",
    domains=[domain_id],
    block={
        "enabled": True,
        "header": "Access Denied",
        "title": "You have been blocked",
        "text": "Your request has been blocked. Contact support if you believe this is an error.",
    },
    captcha={
        "enabled": True,
        "title": "Security check",
        "text": "Complete the challenge below to continue.",
        "error": "Verification failed. Please try again.",
    },
)
print(f"Created page set id={page_set.id}")
package main

import (
    "context"
    "fmt"
    "os"
    "strconv"

    gcore "github.com/G-Core/gcore-go"
    "github.com/G-Core/gcore-go/waap"
)

func main() {
    client := gcore.NewClient()
    domainID, _ := strconv.ParseInt(os.Getenv("WAAP_DOMAIN_ID"), 10, 64)

    pageSet, err := client.Waap.CustomPageSets.New(context.Background(), waap.CustomPageSetNewParams{
        Name:    "My custom pages",
        Domains: []int64{domainID},
        Block: waap.CustomPageSetNewParamsBlock{
            Enabled: true,
            Header:  gcore.String("Access Denied"),
            Title:   gcore.String("You have been blocked"),
            Text:    gcore.String("Your request has been blocked. Contact support if you believe this is an error."),
        },
        Captcha: waap.CustomPageSetNewParamsCaptcha{
            Enabled: true,
            Title:   gcore.String("Security check"),
            Text:    gcore.String("Complete the challenge below to continue."),
            Error:   gcore.String("Verification failed. Please try again."),
        },
    })
    if err != nil {
        panic(err)
    }
    fmt.Printf("Created page set id=%d\n", pageSet.ID)
}
curl -X POST "https://api.cdb-staging.cdn.orange.com/waap/v1/custom-page-sets" \
  -H "Authorization: APIKey ${GCORE_API_KEY}" \
  -H "Content-Type: application/json" \
  -d '{
    "name": "My custom pages",
    "domains": ['"${WAAP_DOMAIN_ID}"'],
    "block": {
      "enabled": true,
      "header": "Access Denied",
      "title": "You have been blocked",
      "text": "Your request has been blocked. Contact support if you believe this is an error."
    },
    "captcha": {
      "enabled": true,
      "title": "Security check",
      "text": "Complete the challenge below to continue.",
      "error": "Verification failed. Please try again."
    }
  }'
Response:
{
  "id": 3321,
  "name": "My custom pages",
  "domains": [12345],
  "block": {
    "enabled": true,
    "header": "Access Denied",
    "title": "You have been blocked",
    "text": "Your request has been blocked. Contact support if you believe this is an error."
  },
  "captcha": {
    "enabled": true,
    "title": "Security check",
    "text": "Complete the challenge below to continue.",
    "error": "Verification failed. Please try again."
  }
  // ...
}
The API returns the created page set with its assigned id. Save this value — it is required for updates and deletion.